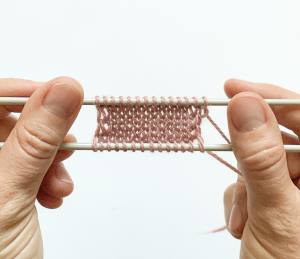
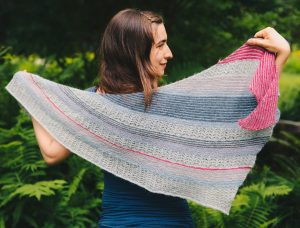
Raise your hand if you hate weaving in ends! (I’m raising my hand very high here.) This tutorial is for you! It will show you how to weave in ends while knitting, which means that there will be basically no ends to weave in at the end of your project.
My always excellent test knitters recently shared with me a technique that is a game changer while knitting stranded colorwork, Fair Isle, stripes or other multicolor knitting projects. I’m almost done knitting a shawl that would have had 34 ends to weave in if I hadn’t learned this technique just before starting it, and I ended up weaving in only the last end, which means 33 ends saved! What a gift! I hope this tutorial will be a game changer for you as well. It will show you how to weave your ends while knitting, using only your two hands, your needles and NO tapestry needle (YAY)! I did it for both Continental knitters (pickers) and English knitters (throwers) so everyone can learn this amazing technique.
Preleminary steps
Step 1:
Knit to the point where you’ll join in the second color, ending with a wrong side row.

Step 2:
Join new yarn as you normally would, and knit the first stitch.


Step 3:
Hold the new yarn in your usual knitting hand (right for English knitters, left for Continental knitters). Hold both tails in your opposite hand (tail from the previous color, and tail from the new yarn).


Main steps
Step 4:
Insert right needle into the next stitch as to knit it. Wrap tails around right needle.


Step 5:
Wrap working yarn around needle, closer to the tip of the needle than the tails.


Step 6:
Unwrap the tails, passing them from above the needle to under the needle. Working yarn stays on the needle.


Step 7:
Knit the stitch with the working yarn. The tails are caught under the stitch.


Step 8:
Knit the next stitch the normal way.


Repeat Main steps (steps 4-8) about 5 times, alternating stitches catching ends with normal stitches.
Step 9:
Leaving the tails hanging behind work, knit to the end of the row with working yarn only. Keep working normally.

This is what you get after a few more rows!

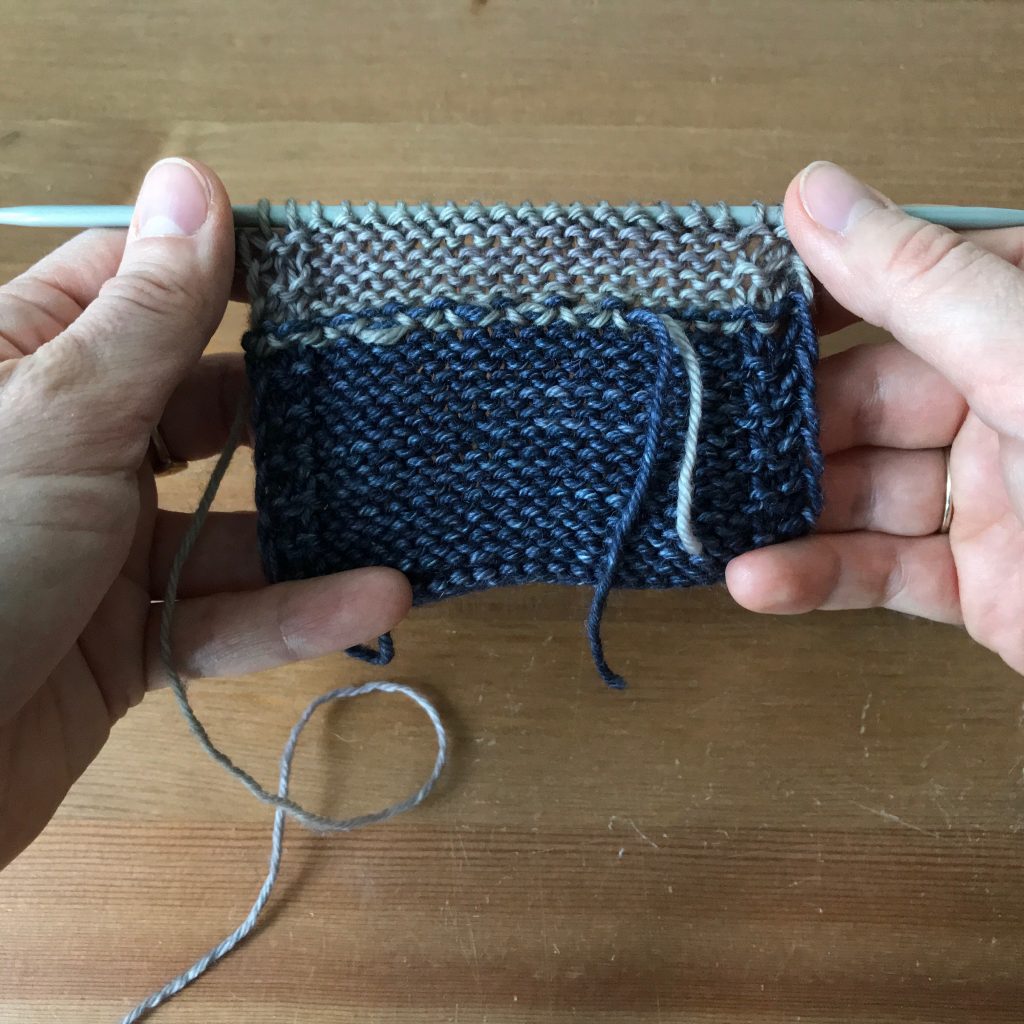
Finishing
When you’re done knitting, or whenever you want to, cut the hanging tails.

So from now on, you can enjoy colorwork without its main downside!!!