The purl stitch is the reverse of the knit stitch. In a stockinette stitch, it is visible on the wrong side of the work. It is also noticeable in all textured stitches: garter stitch, seed stitch, moss stitch, and a whole range of patterns that can be created using only knit and purl stitches. According to some knitters, it is a bit more challenging to execute than the knit stitch, but it still claims to be the world’s number two of all knitting stitches!
Purl Stitch
Abbreviation: p
Level: Beginner
The Purl Stitch: Continental Method
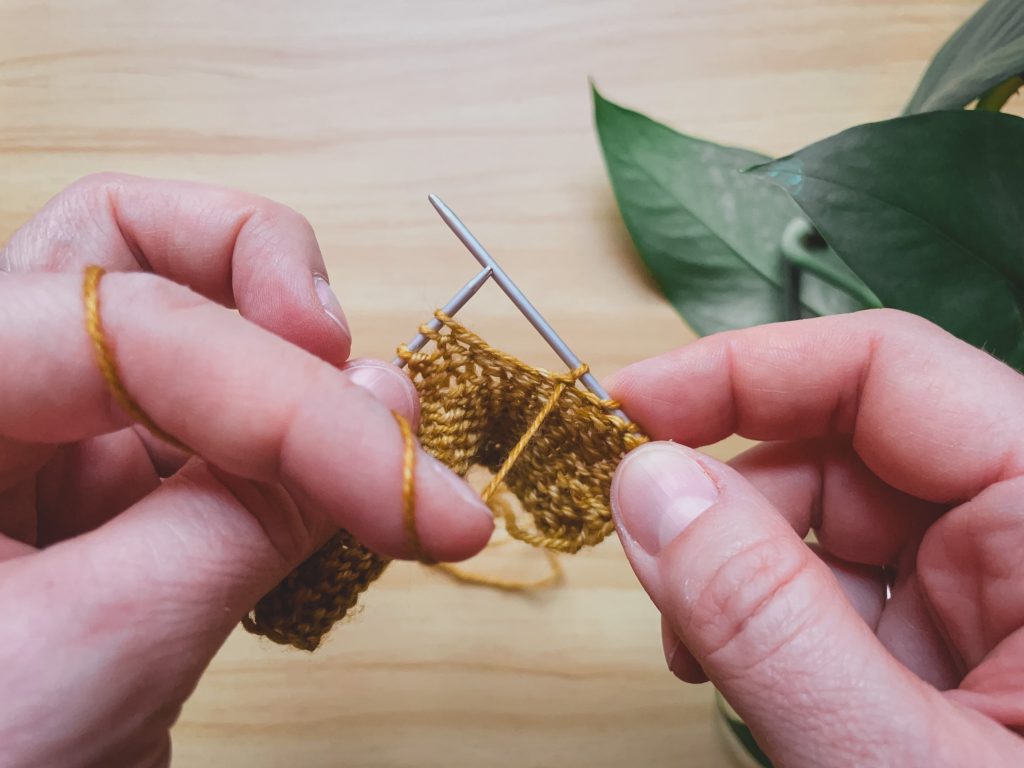
Hold the yarn in the left hand and place it in front of the work.
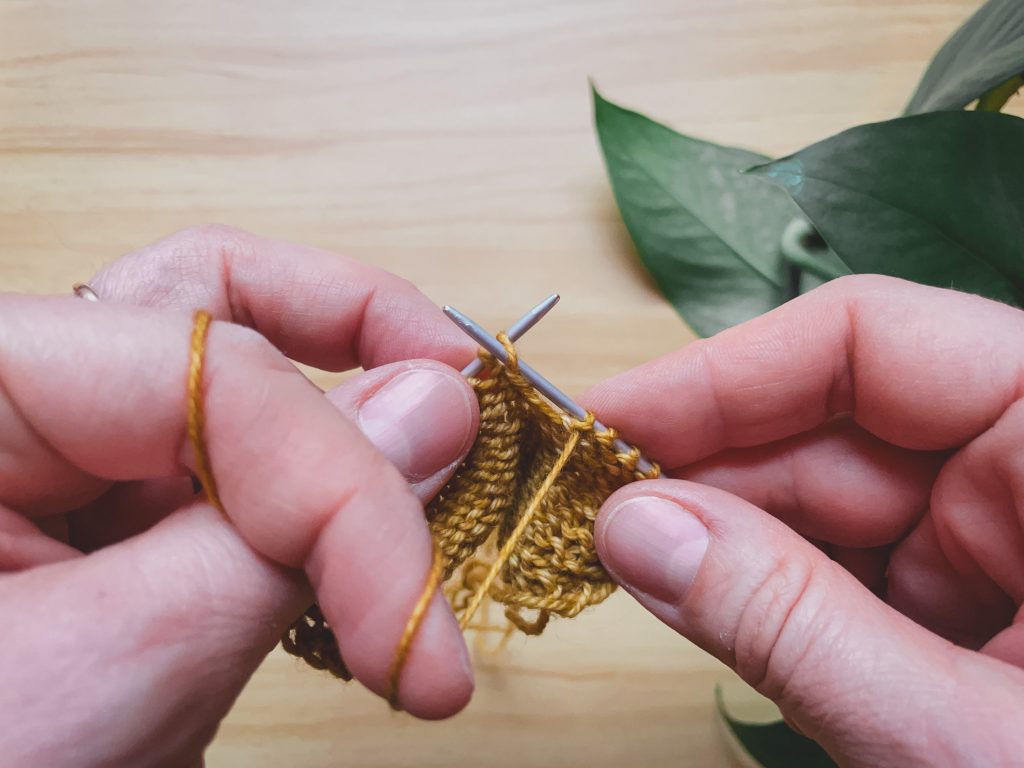
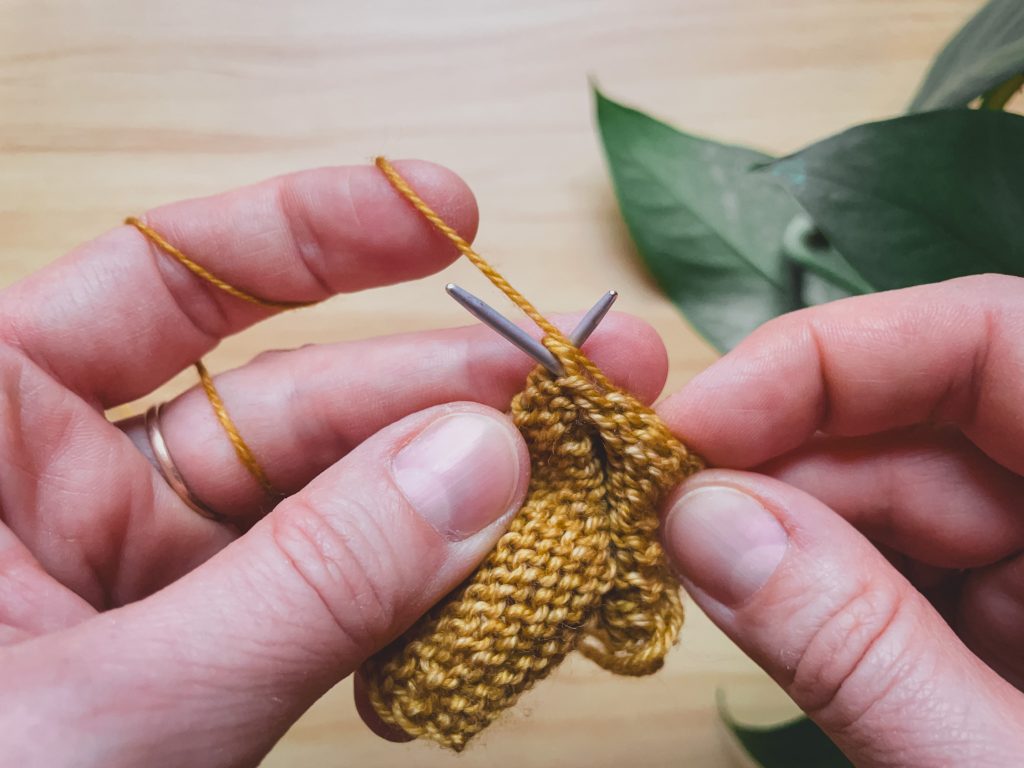
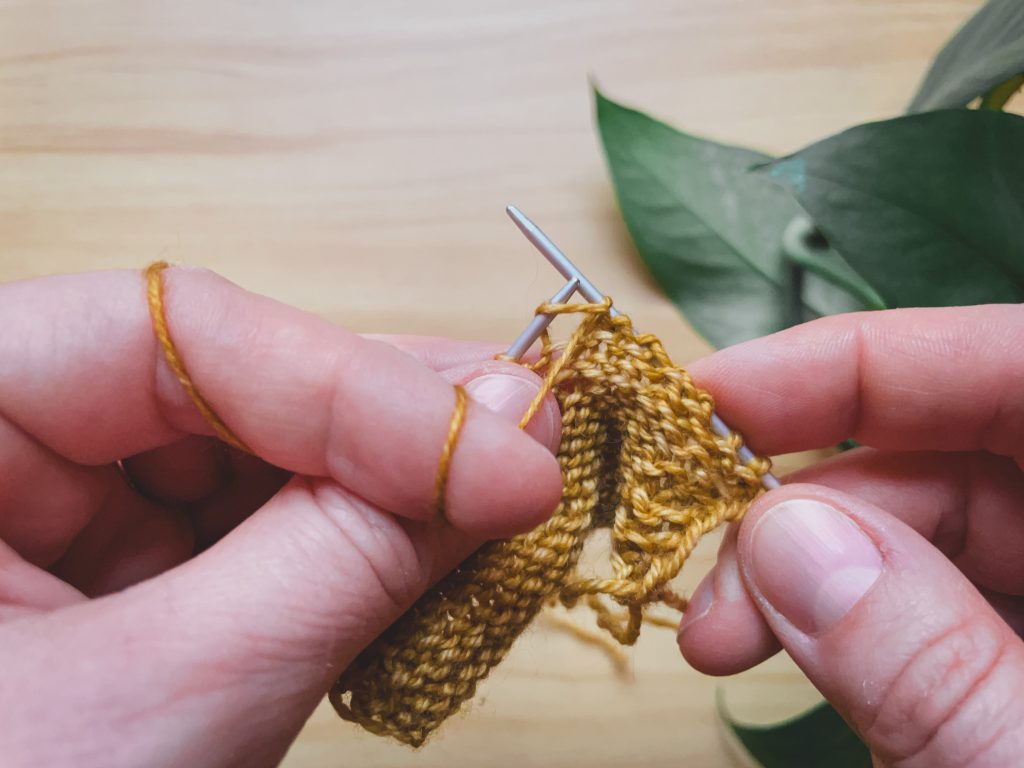
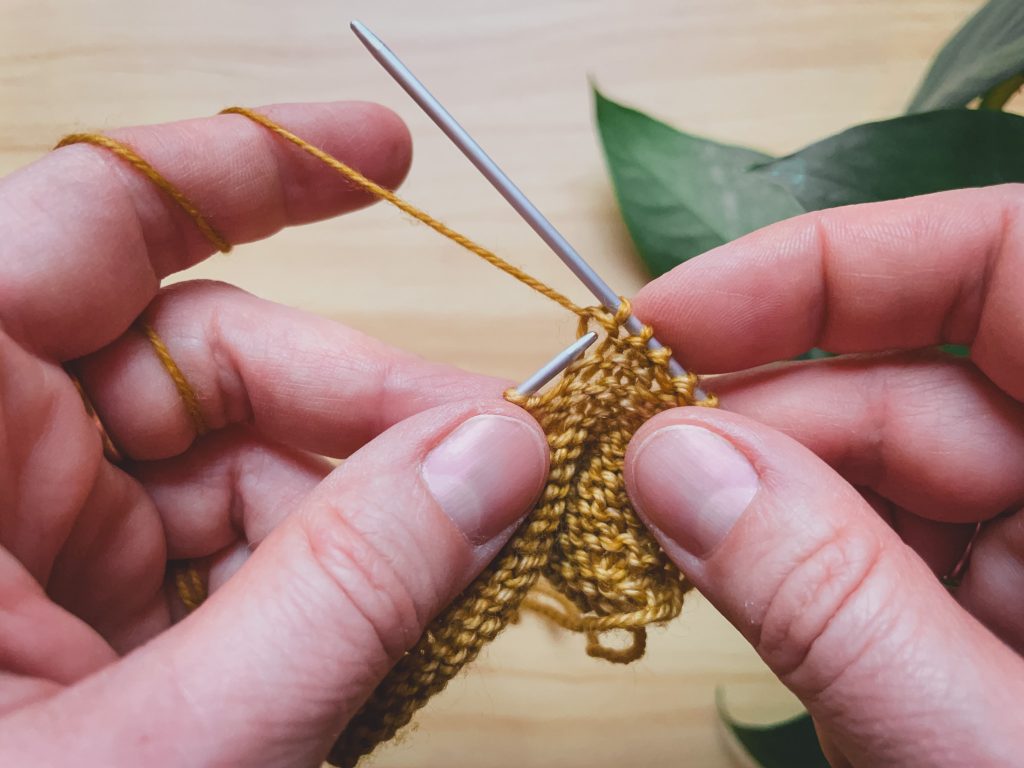
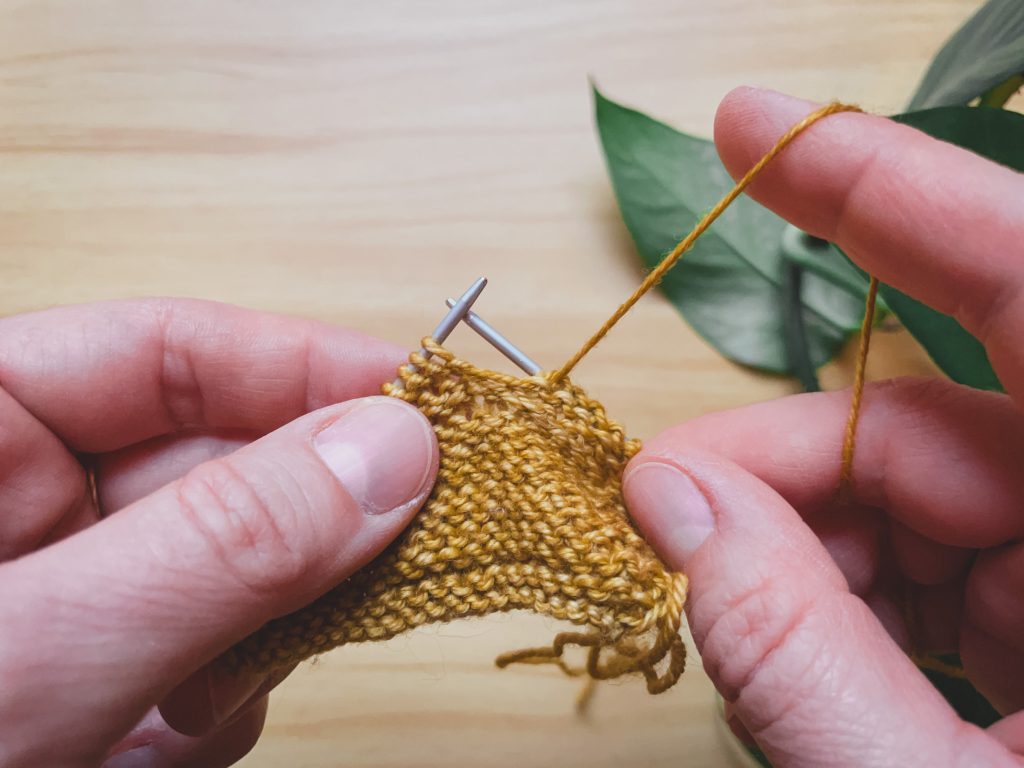
Congratulations! You’ve purled a stitch!
Very soon, you’ll be able to perform these four steps in one fluid motion.
The Purl Stitch: English/American/Throwing Method
Hold the yarn in the right hand and place it in front of the work.
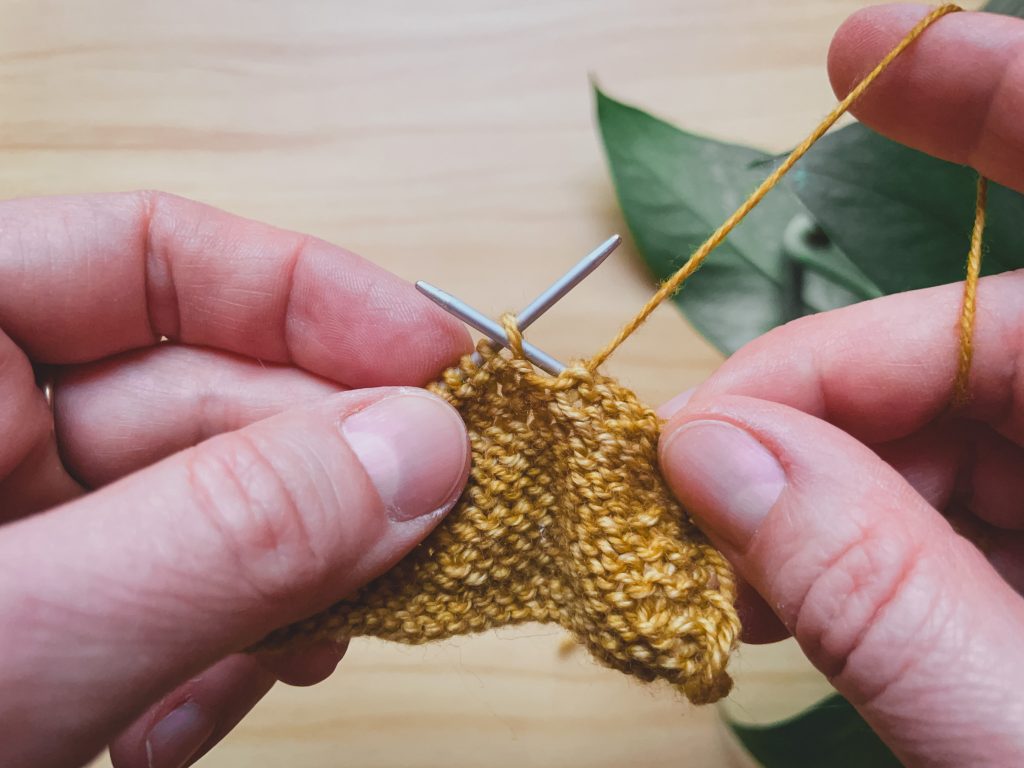
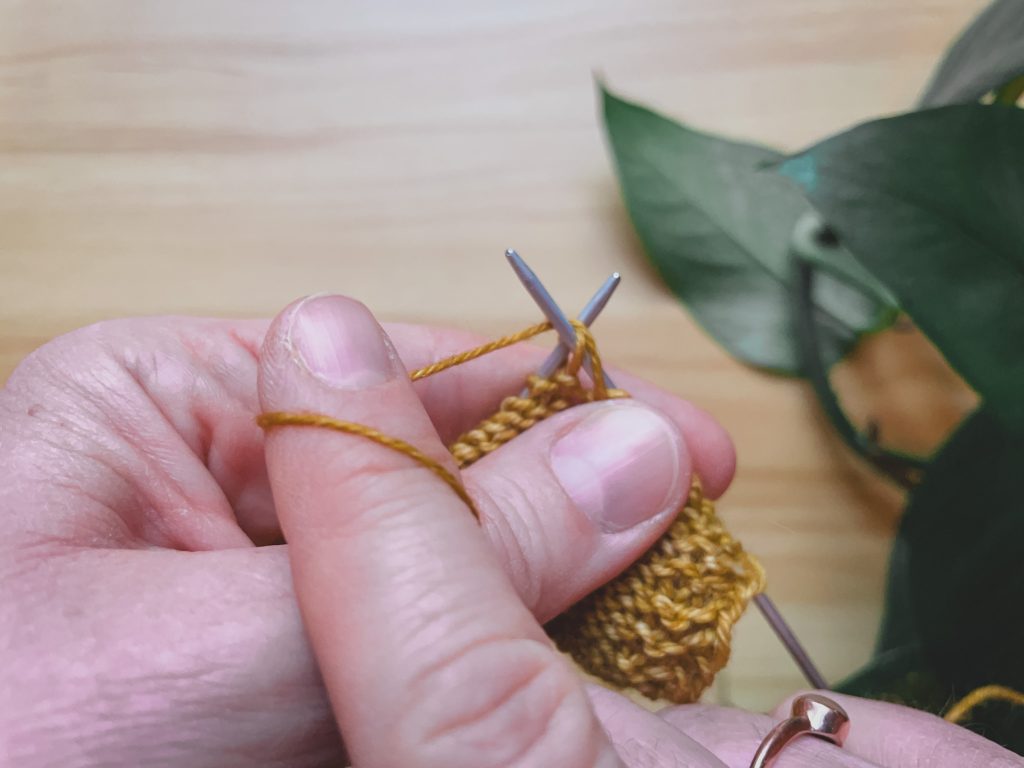
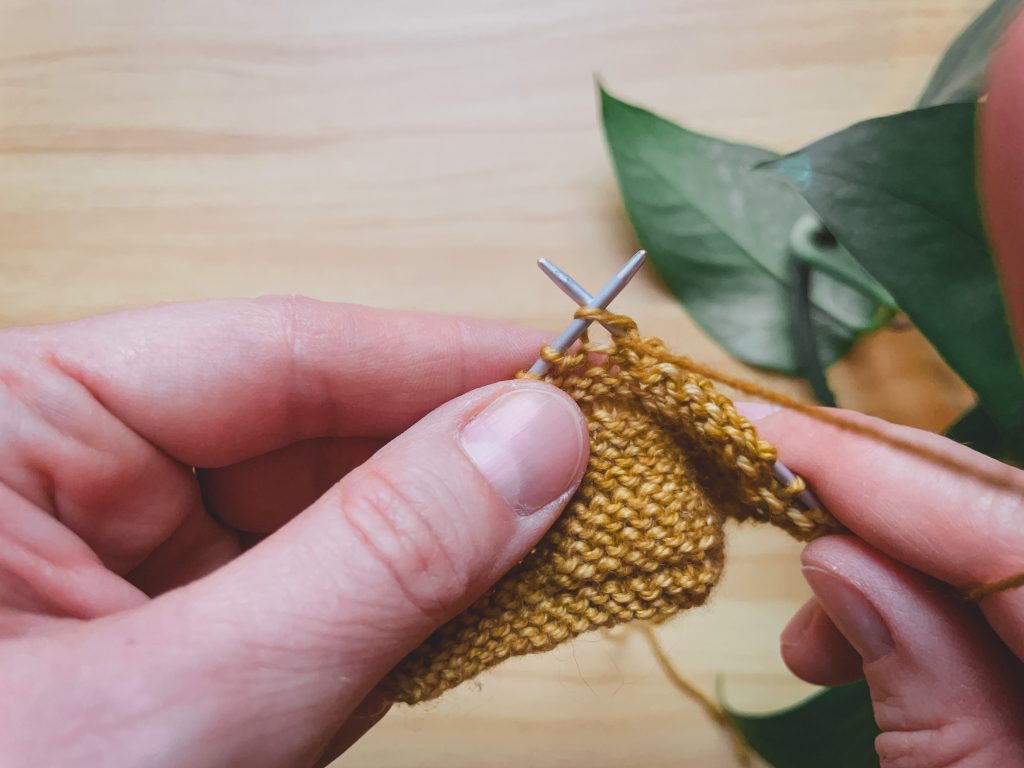
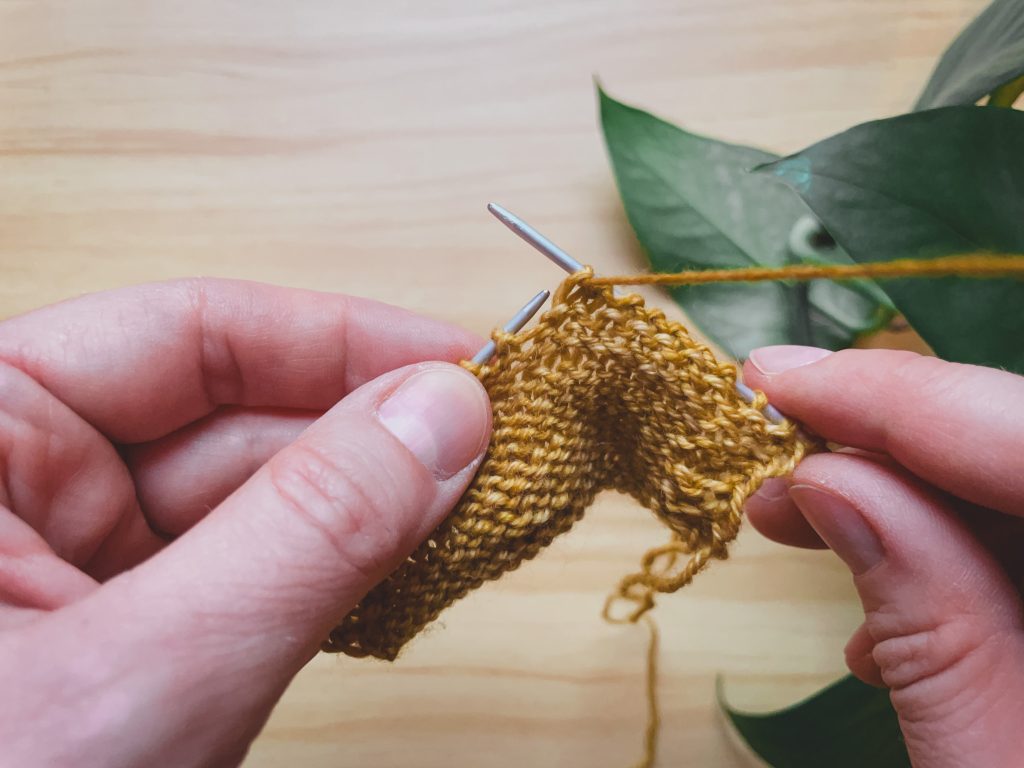
Congratulations! You’ve purled a stitch!
Very soon, you’ll be able to perform these four steps in one fluid motion.

