This cast-on technique is commonly known as the Italian Tubular Cast On. It’s an excellent method for creating a stretchy and visually appealing rolling edge for projects that begin with k1, p1 ribbing. It can be used on its own or combined with tubular foundation rows worked in double knitting for a more structured result.
I had a long conversation with my test knitters (brilliant ladies of all ages from around the world) about tubular cast-ons and the various ways they are made and named. About three or four variations came up as popular, but we all knew them by different names. After some research, I found that each technique often has several names, likely due to regional differences. The technique shown here is my favorite and is known as the Two-Strand Tubular Cast On, Italian Cast On/Italian Tubular Cast On, or Long Tail Tubular Cast On. It’s called a “tubular” cast-on when foundation rows are present, or simply the Italian Cast On when worked without these rows. While tubular cast-ons are more challenging than regular cast-ons, the effort is worth it. They create an edge that looks like the fabric is rolling on itself, without the appearance of a traditional cast-on edge. Note that this technique creates a loose edge, so I recommend using needles smaller than those used for the ribbing of your project.
You will need:
- Working yarn
- Needles smaller than those used for your ribbing
Video: How to knit the Italian Tubular Cast On
Photo Tutorial: How to knit the Italian Tubular Cast On
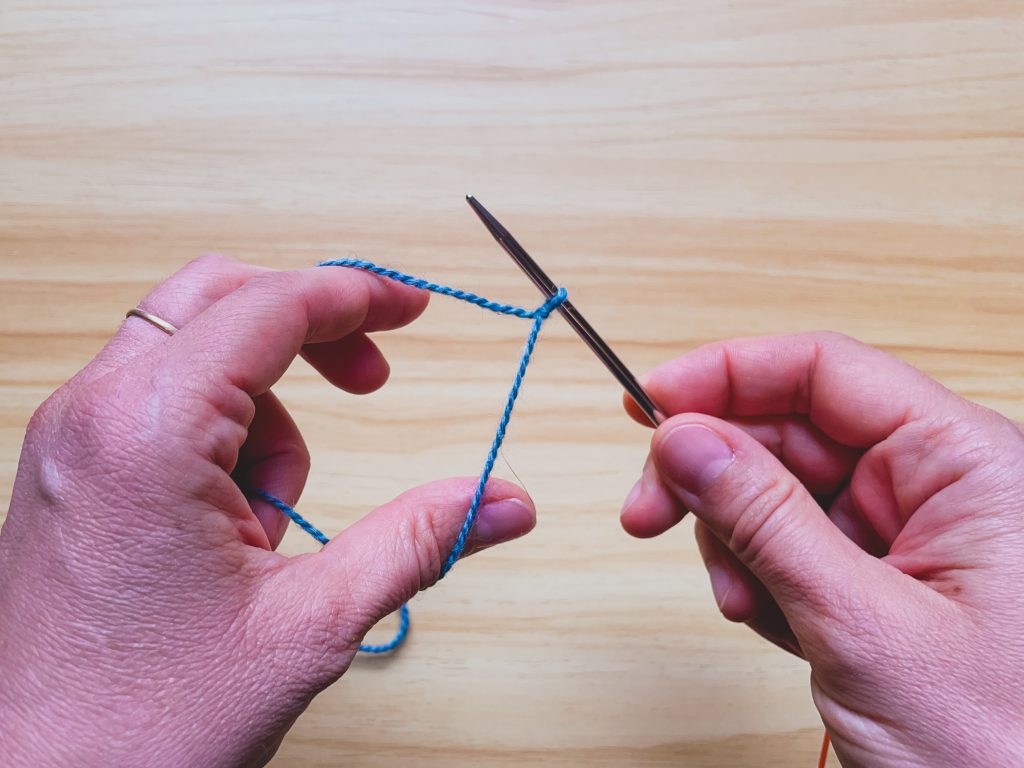
Make a slipknot, leaving a long tail about 3 to 4 times the desired length of your cast-on. Place the slipknot on the right needle.
Place the yarn in your left hand in a slingshot position, with the working yarn over your index finger and the tail around your thumb. Hold both yarns in your palm.
→ Step 1: Create a purl stitch
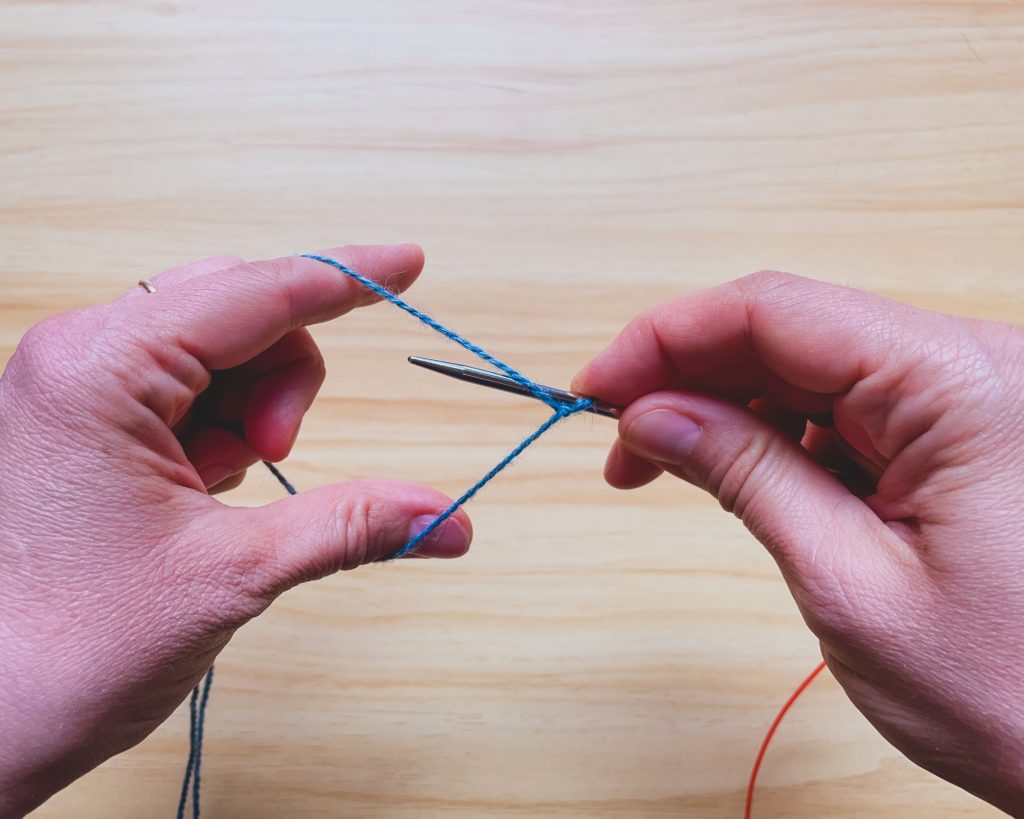
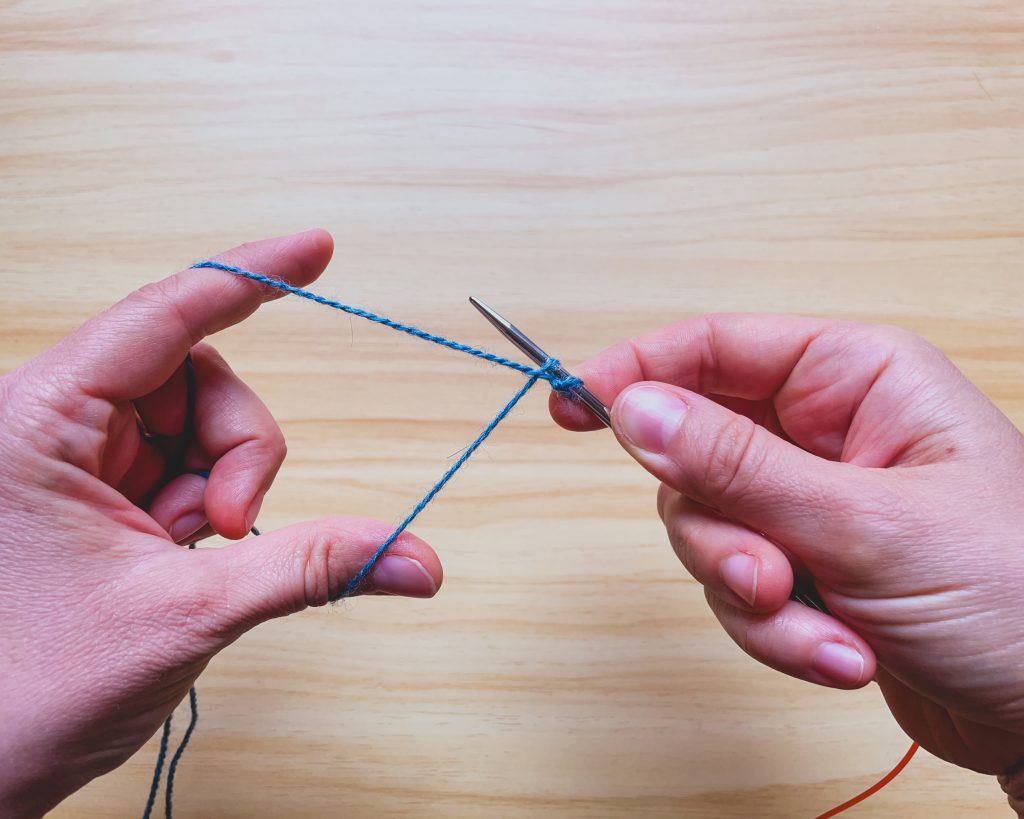
→ Step 2: Create a knit stitch
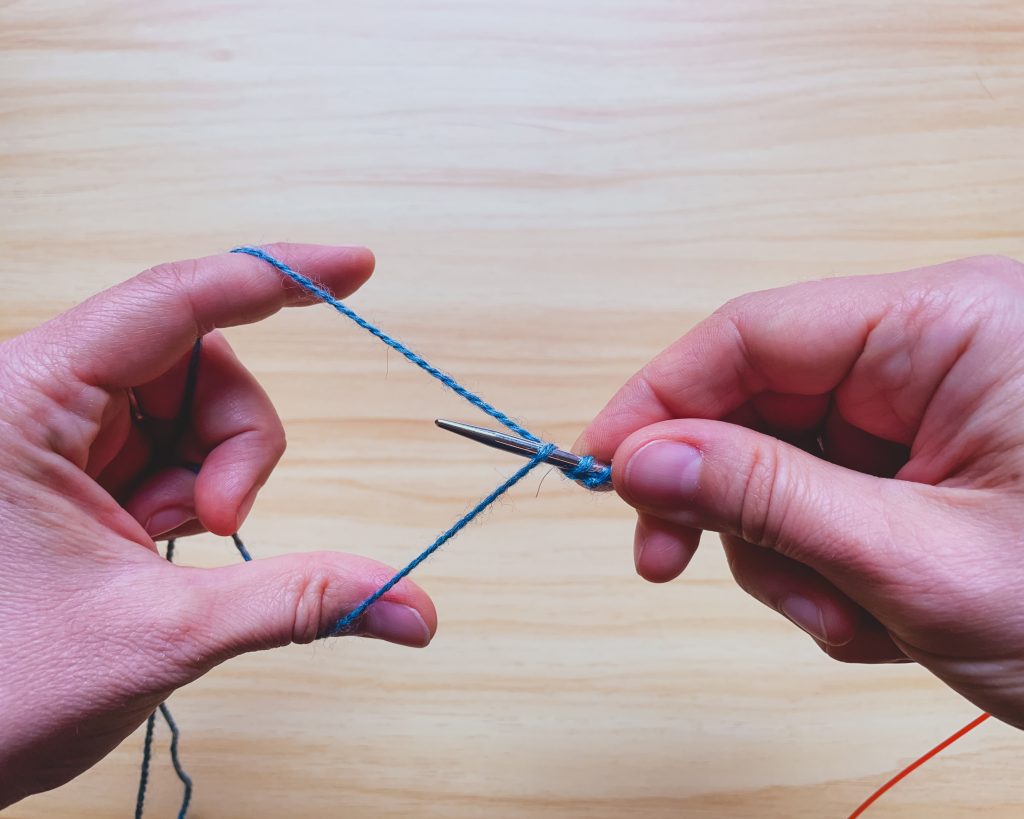
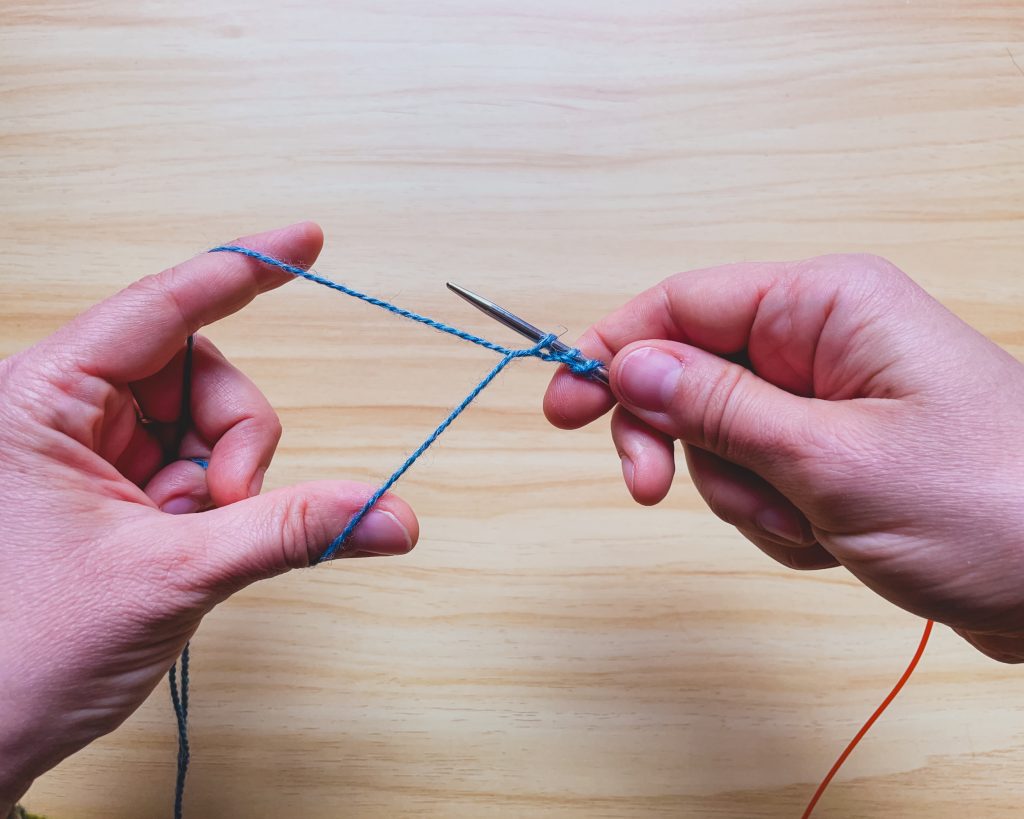
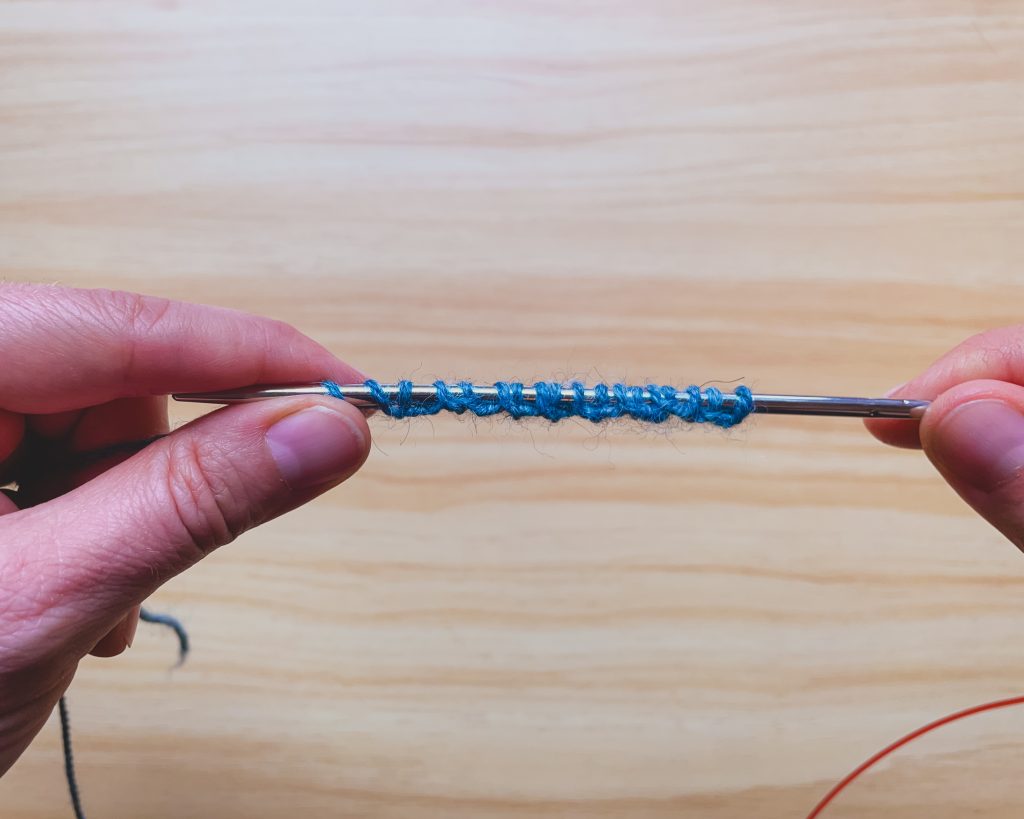
Note that the slipknot counts as the first stitch. Depending on your project, you may want to start by creating a knit stitch—simply start at Step 2 to do so. You can end your cast-on after Step 1 for an even number of stitches or after Step 2 for an odd number.
Optional Tubular Rows
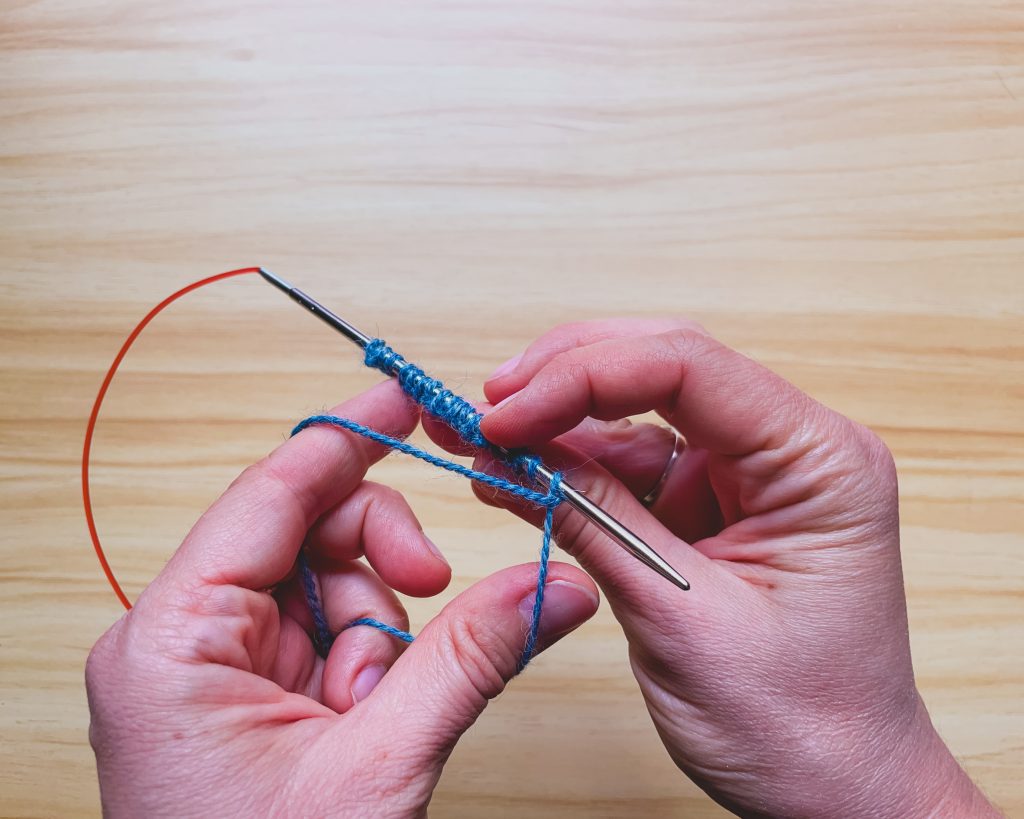
→ Even number of stitches (cast on ending with a purl stitch):
Bring the working yarn under the needle to get ready to work a knit stitch.
Tubular Row 1: K1, (slip 1 purlwise with yarn in front, k1 through back loop) to the last stitch, slip 1 purlwise with yarn in front.
Tubular Row 2: (K1, slip 1 purlwise with yarn in front) to end.
→ Odd number of stitches (cast on ending with a knit stitch):
Bring the working yarn in front as if to work a purl stitch.
Tubular Row 1: (Slip 1 purlwise with yarn in front, k1 through back loop) to the last stitch, slip 1 purlwise with yarn in front.
Tubular Row 2: (K1, slip 1 purlwise with yarn in front) to the last stitch, k1.
Proceeding with your knitting
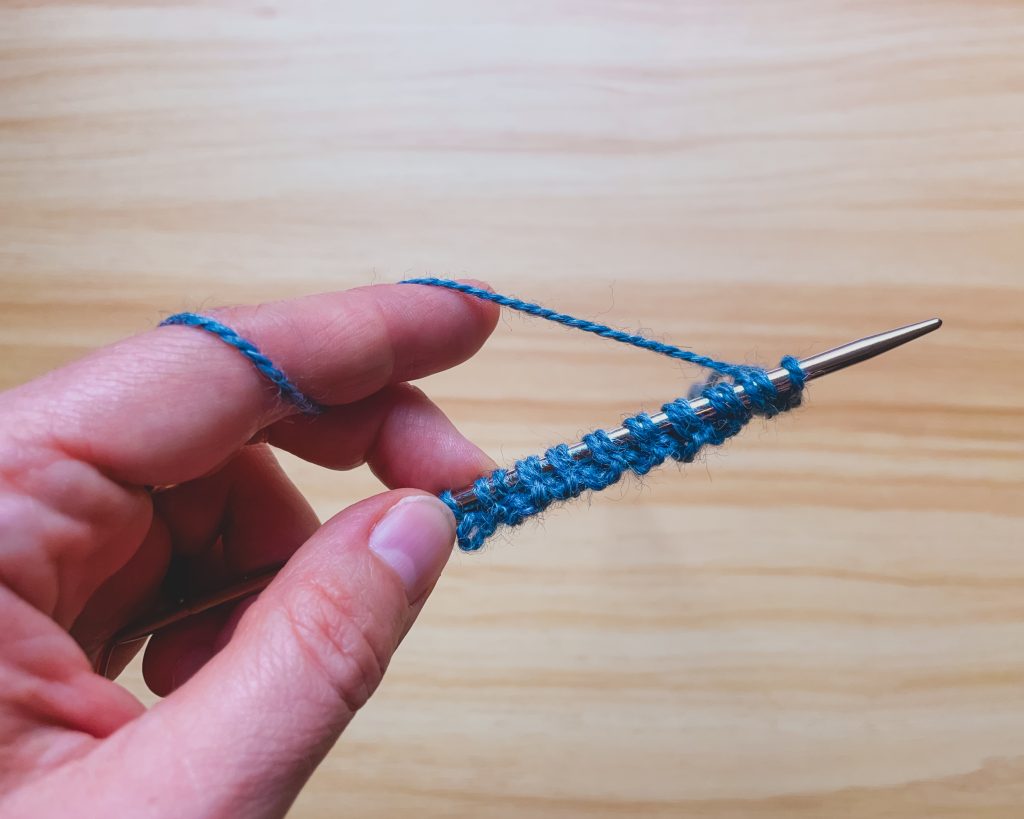
If your project is worked in the round, join in the round after working the two tubular rows.
If your project is worked flat, you can work more tubular rows to create a rounder edge.


