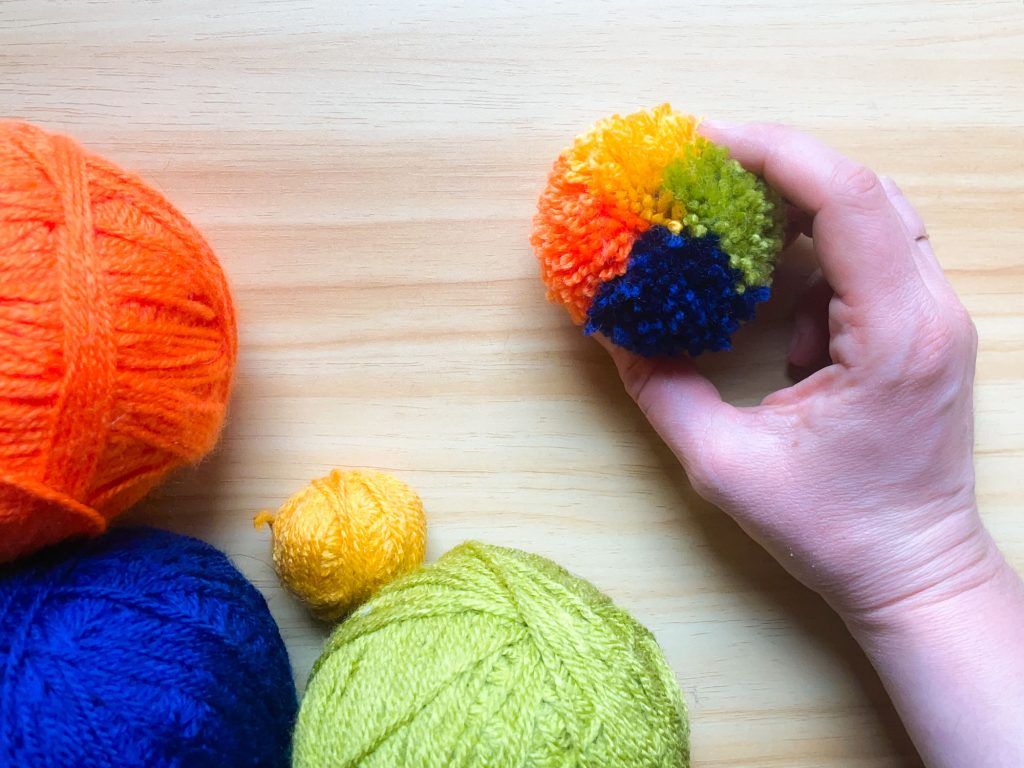
Following my tutorial on the basics of making pom-poms, here are three beautiful ways to create more colorful pom-poms. These methods allow you to use multiple colors of yarn to make rainbow pom-poms, and they will help you better understand the pom-pom making tool. Making multicolored pom-poms is also a great way to use up scrap yarns, and it creates the best pom-poms to put on a hat or beanie. Both children and adults will be amazed at their beautiful creations, as multicolored pom-poms are easy to make at any age! My four-year-old son is actually my assistant here; you can see his little hands in several photos. He loved his pom-pom-making experience. So, I’ve succeeded in my mission: my children are now also passionate about making multicolored pom-poms!
How to Make a Multicolored Pom-pom?
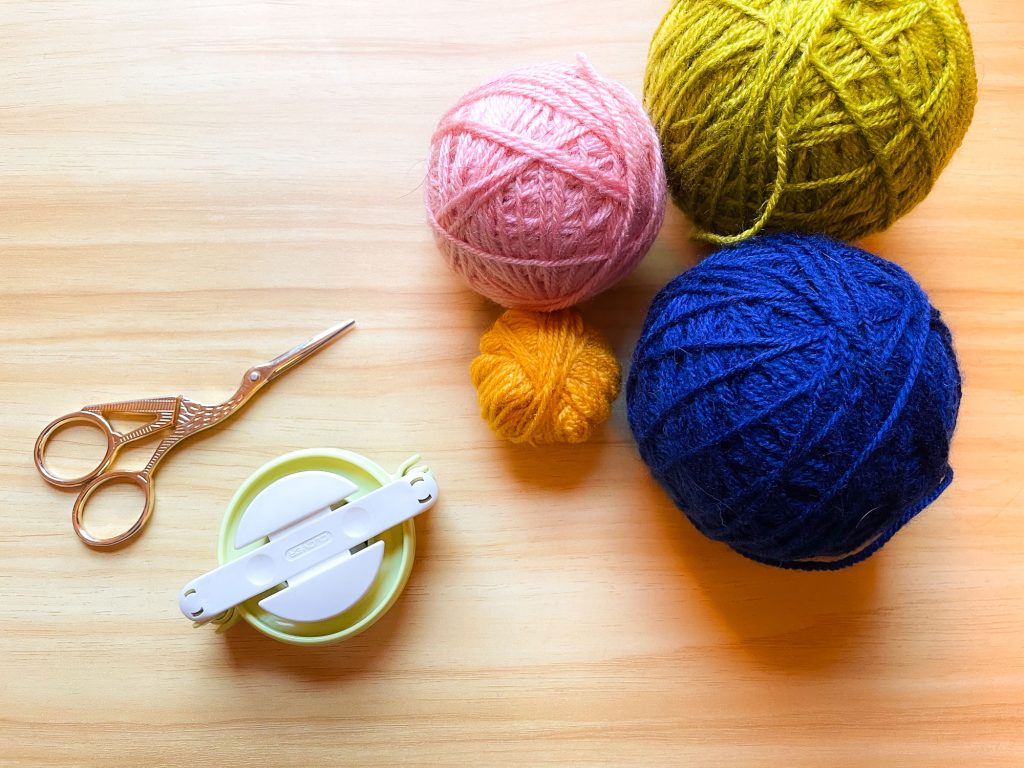
– Some balls of yarn in different colors (leftover yarns are perfect).
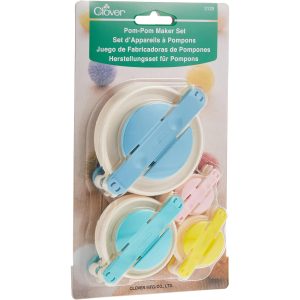
– A pom-pom making tool (you can find them on amazon.ca and amazon.fr). I highly recommend the ones from the Clover brand.
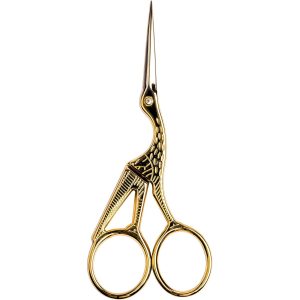
– A pair of sharp scissors, such as embroidery scissors (also available on amazon.ca and amazon.fr).
Step 1: Wrap the Yarn
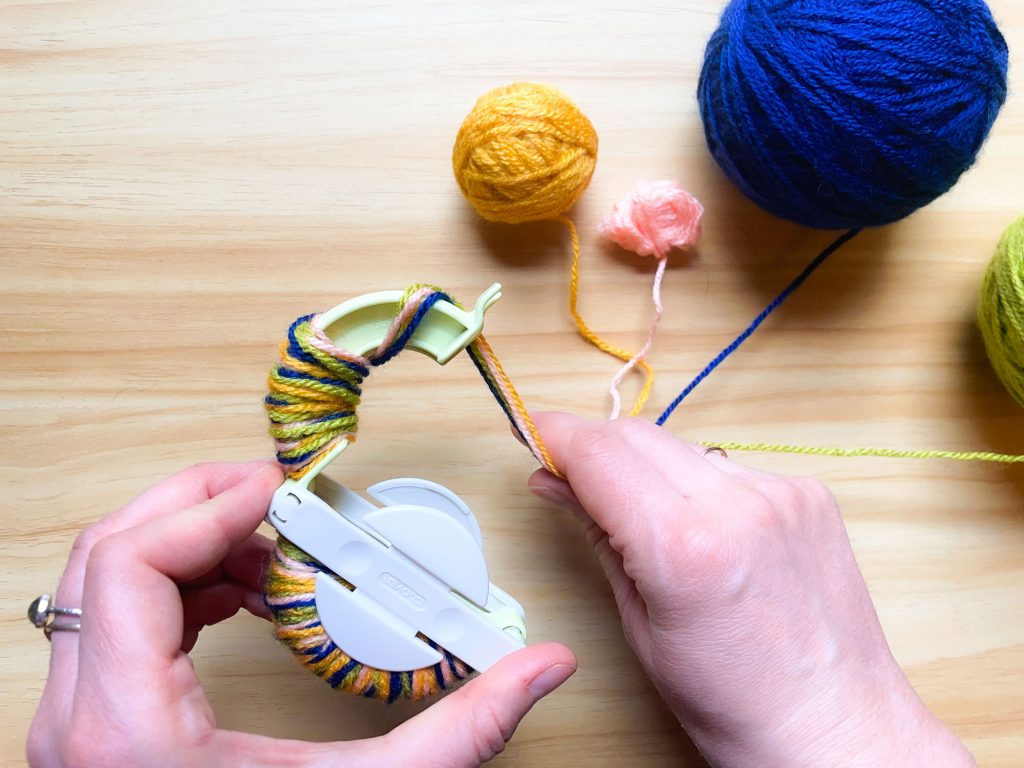
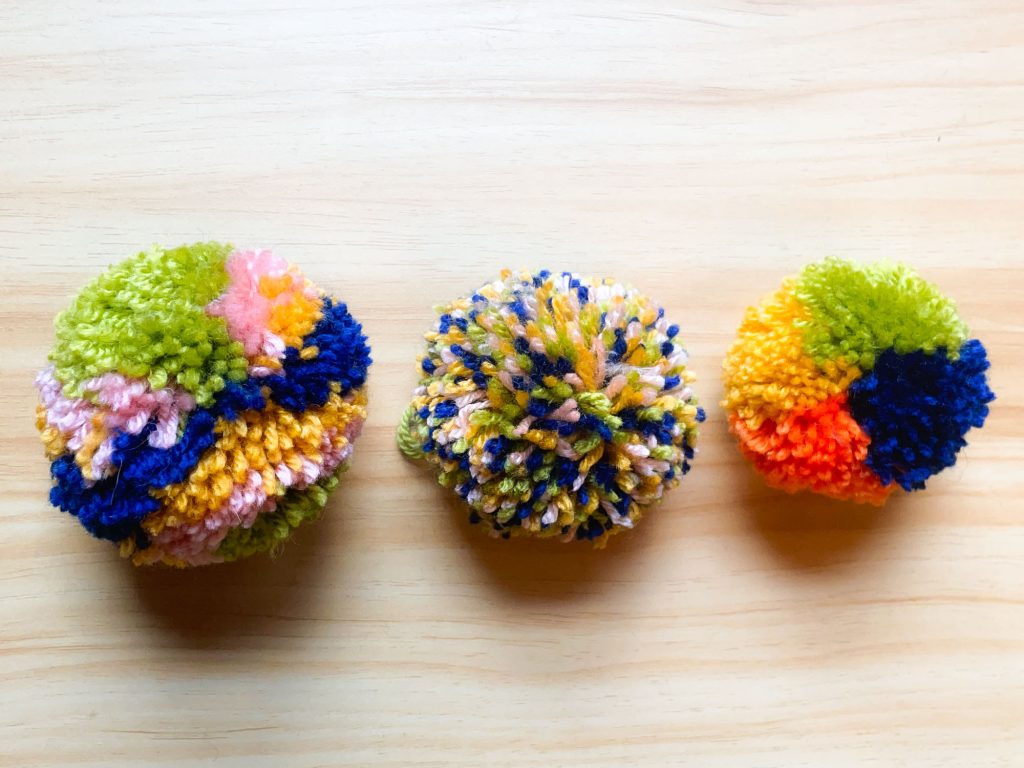
The way you wrap the yarn around the pom-pom making tool will determine the final look of the pom-pom. The three methods that I’m showing here will create three completely different models of multicolored pom-poms.
For more details on how to wrap the yarn, please read my tutorial How to Make Yarn Pom-Poms, which will show you all the detailed steps to learn how to make your first pom-pom.
→ Method 1: the sandwich pom-pom
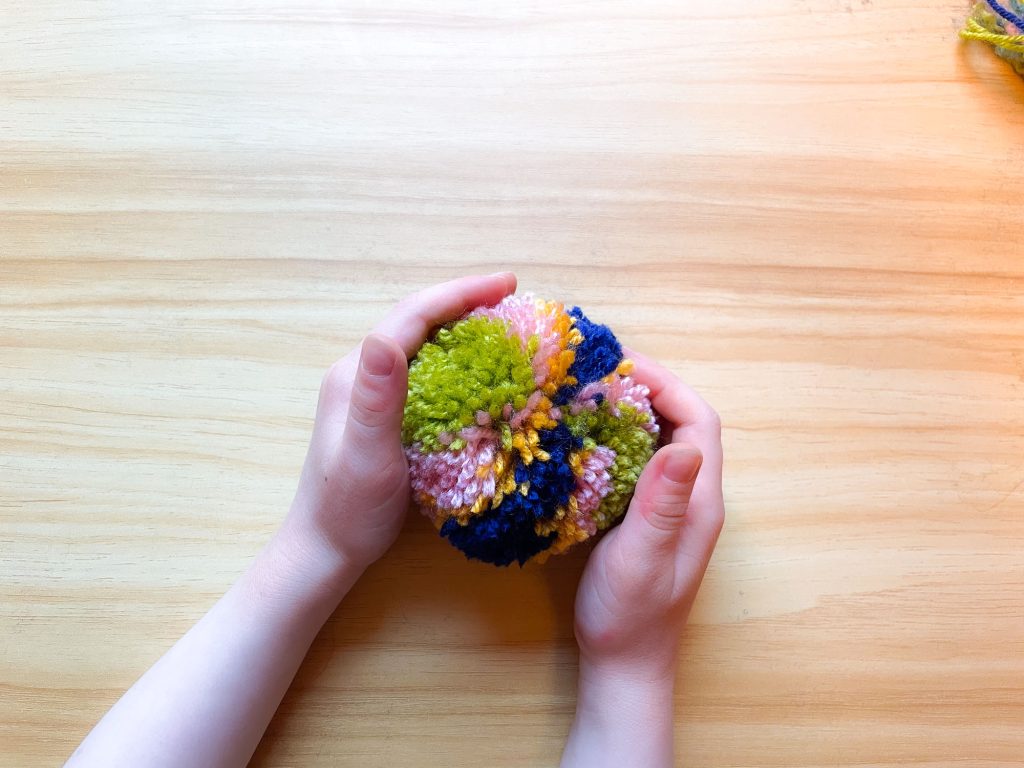
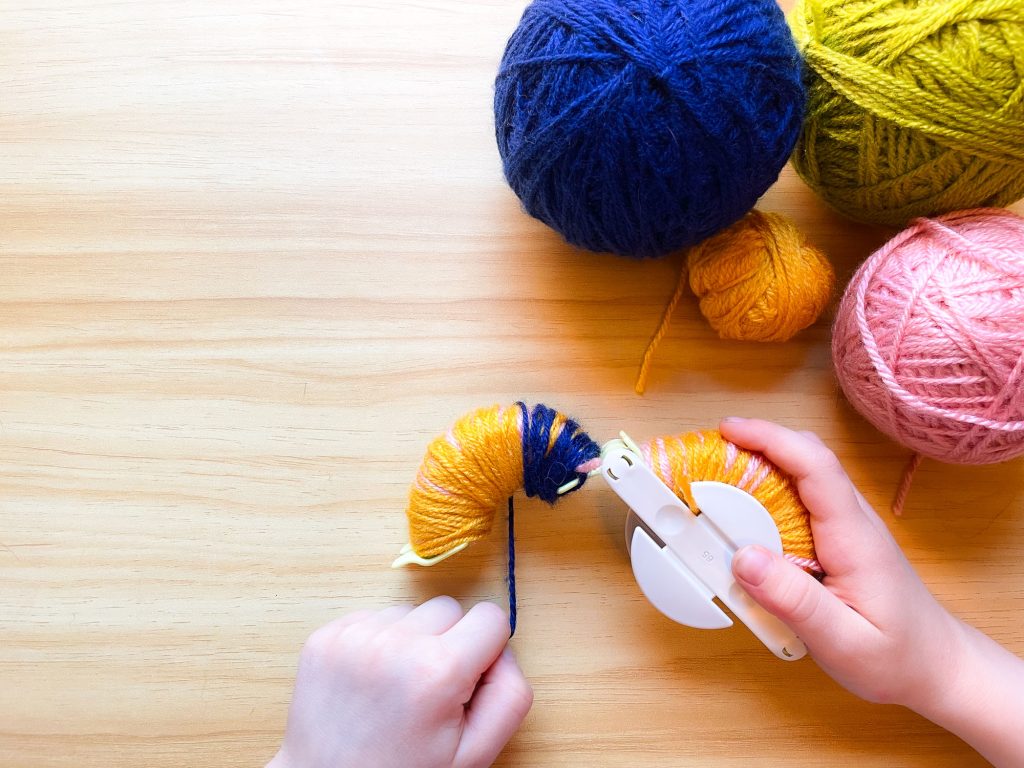
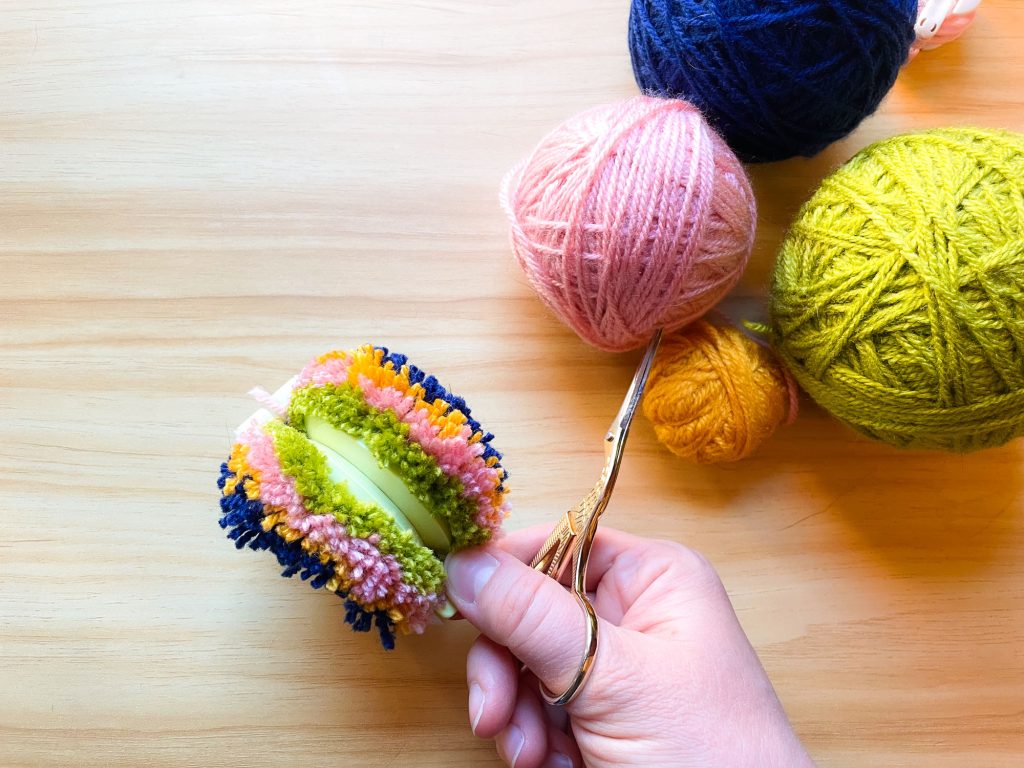
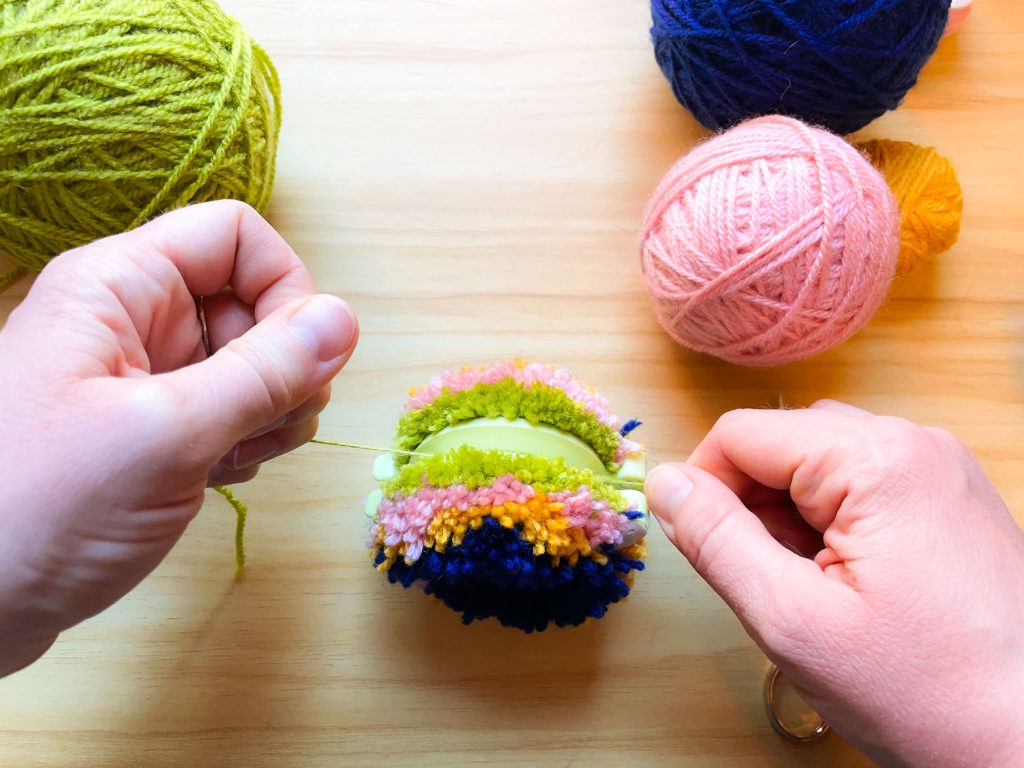
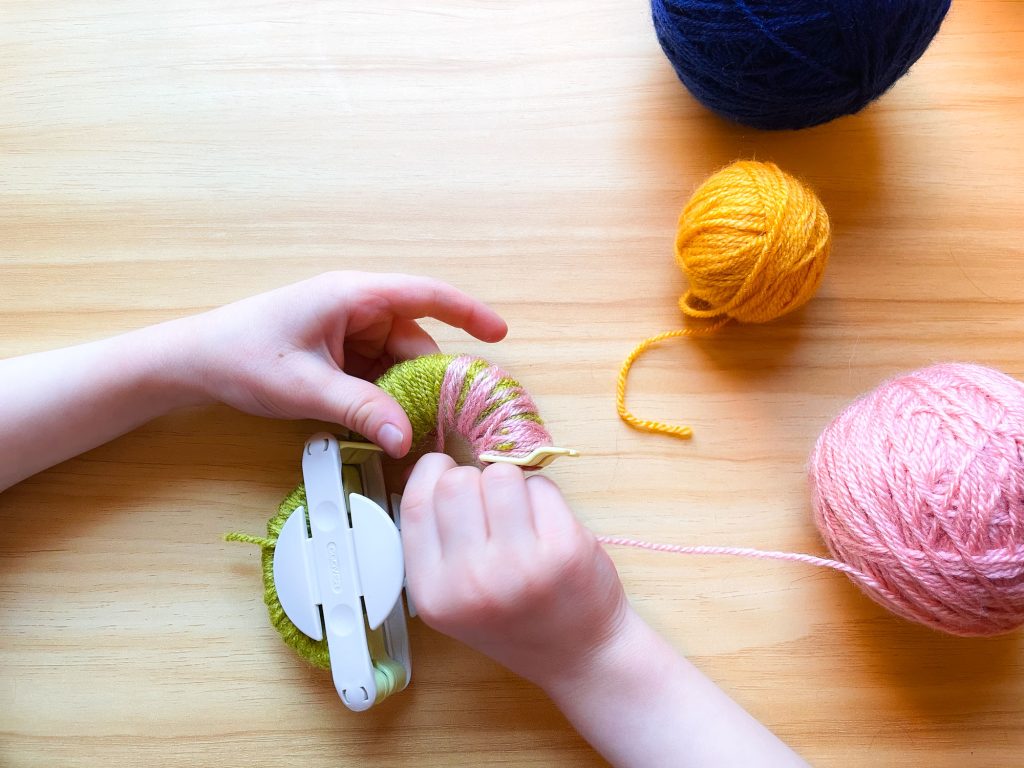
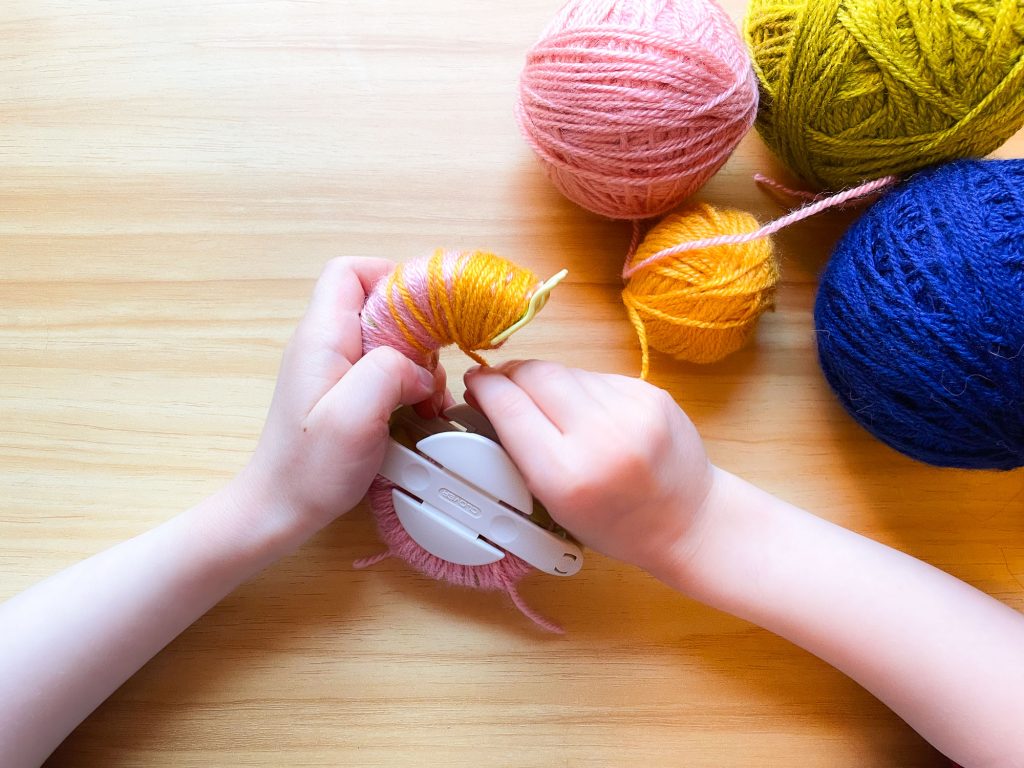
This method creates a pom-pom with layers of colors. To make this pom-pom, you need to wrap a small amount of each color around the entire tool. The colors should be wrapped on top of each other. Here, we used the green yarn first, then pink, yellow, and finally blue. When the pom-pom will be done, the first color used will show at each end of the pom-pom, and the color wrapped last will be in the middle.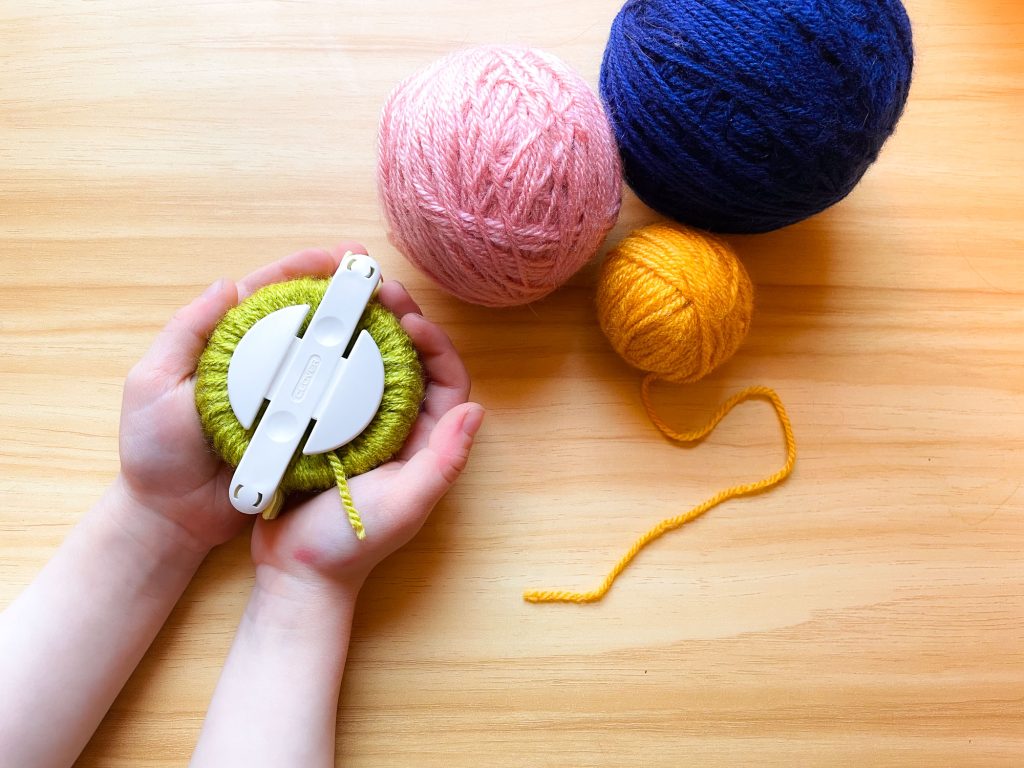
→ Method 2: the rainbow pom-pom
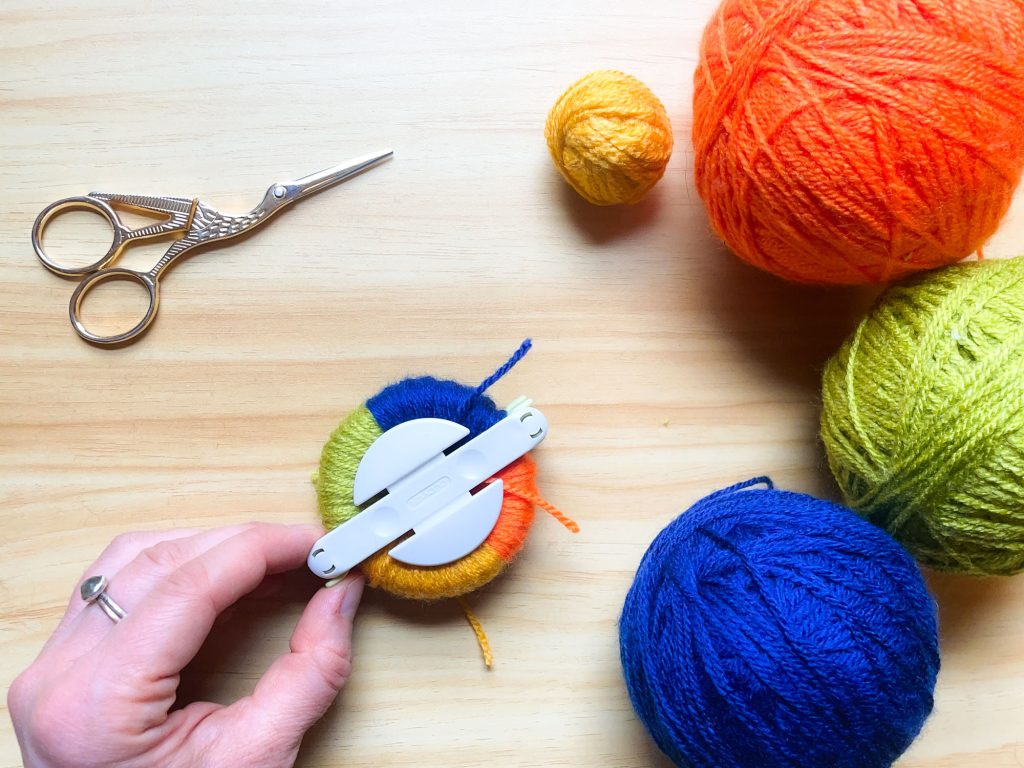
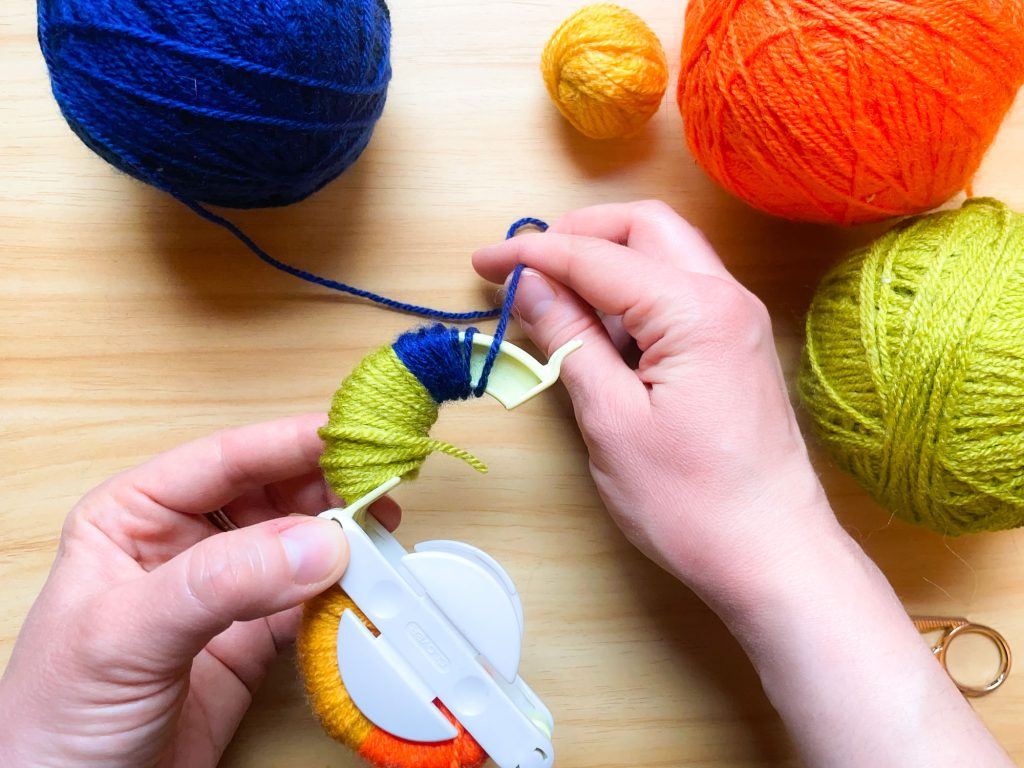
This method involves wrapping each color of yarn on only one part of the tool. In this case, I wanted to use four colors, so I mentally divided the tool into four equal parts and covered each part with one color. You can easily make this type of pom-pom with any even number of colors.
→ Method 3: the confetti pom-pom
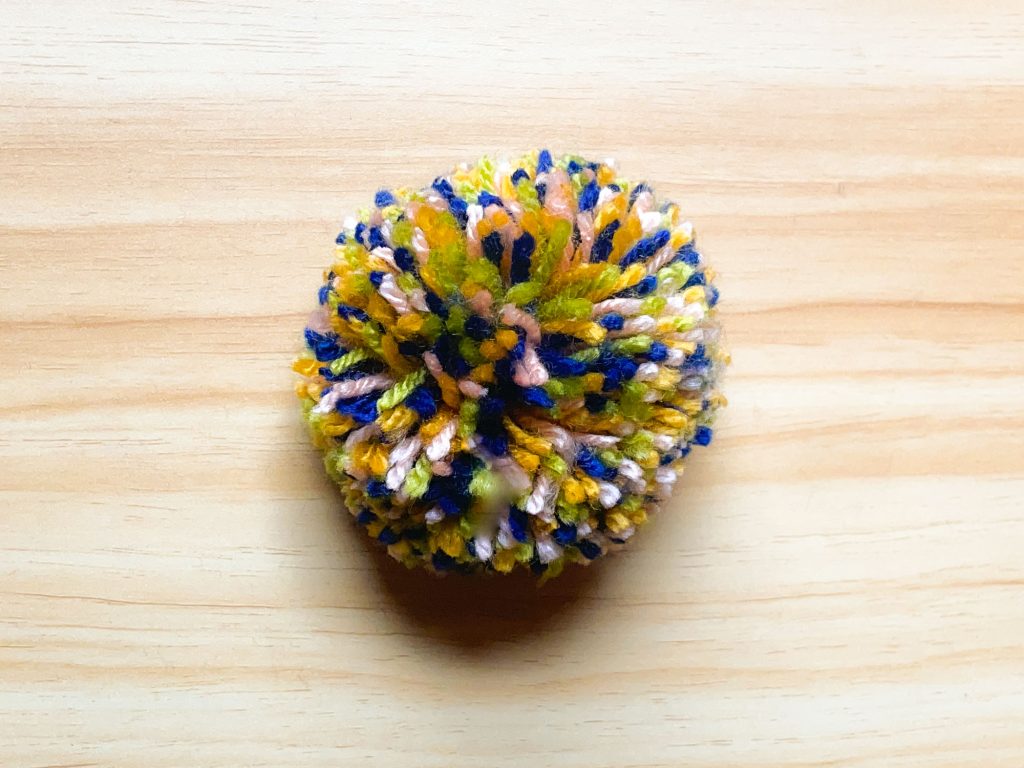
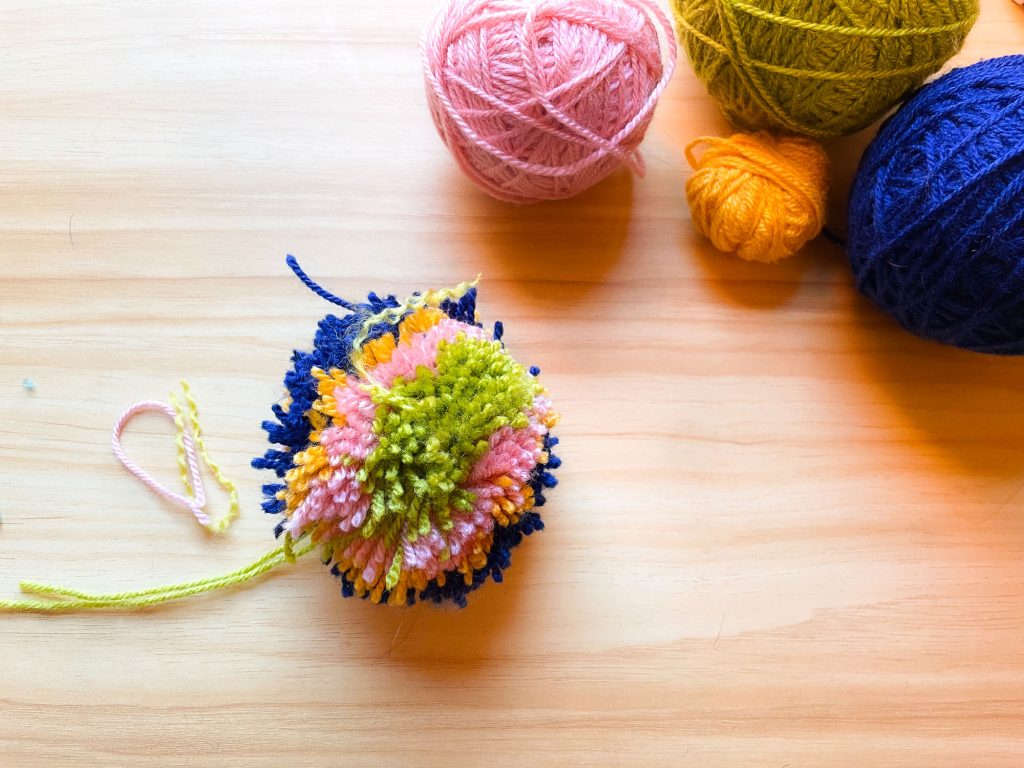
This method is the best for easily making a multicolored pom-pom that will create an extra-joyful outcome! Simply hold all the yarn strands together and wrap them freely around the tool. For all types of pom-poms but especially for this one, it’s important to be very generous with the amount of yarn you use.
Step 3: Cut the Yarn
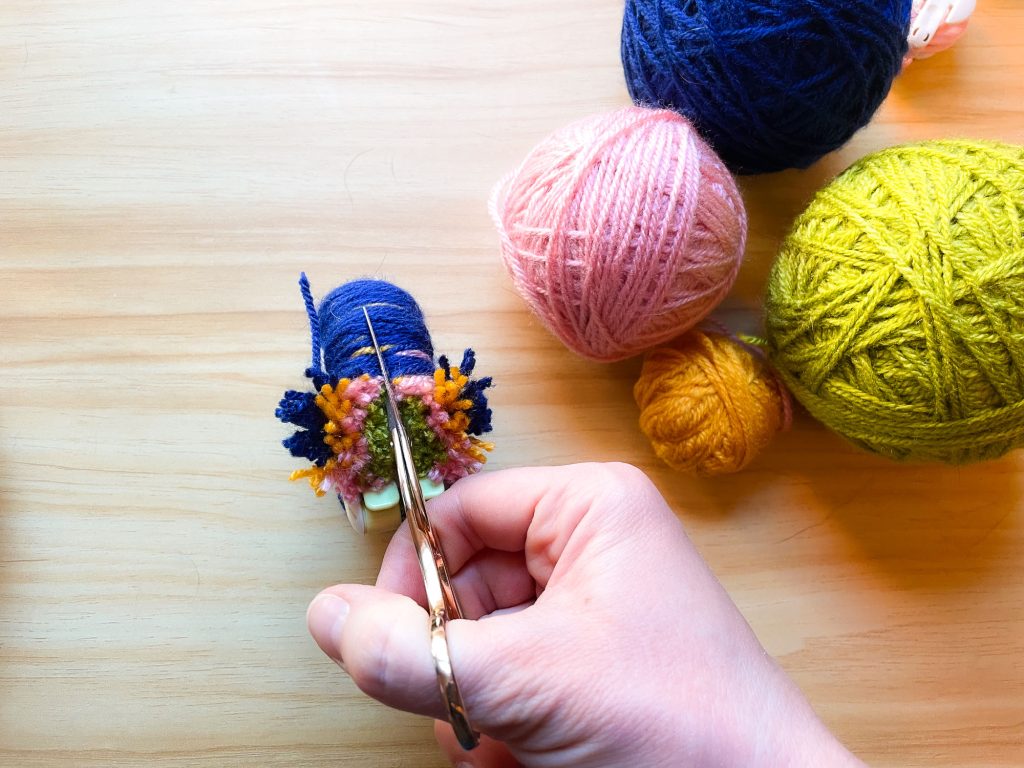
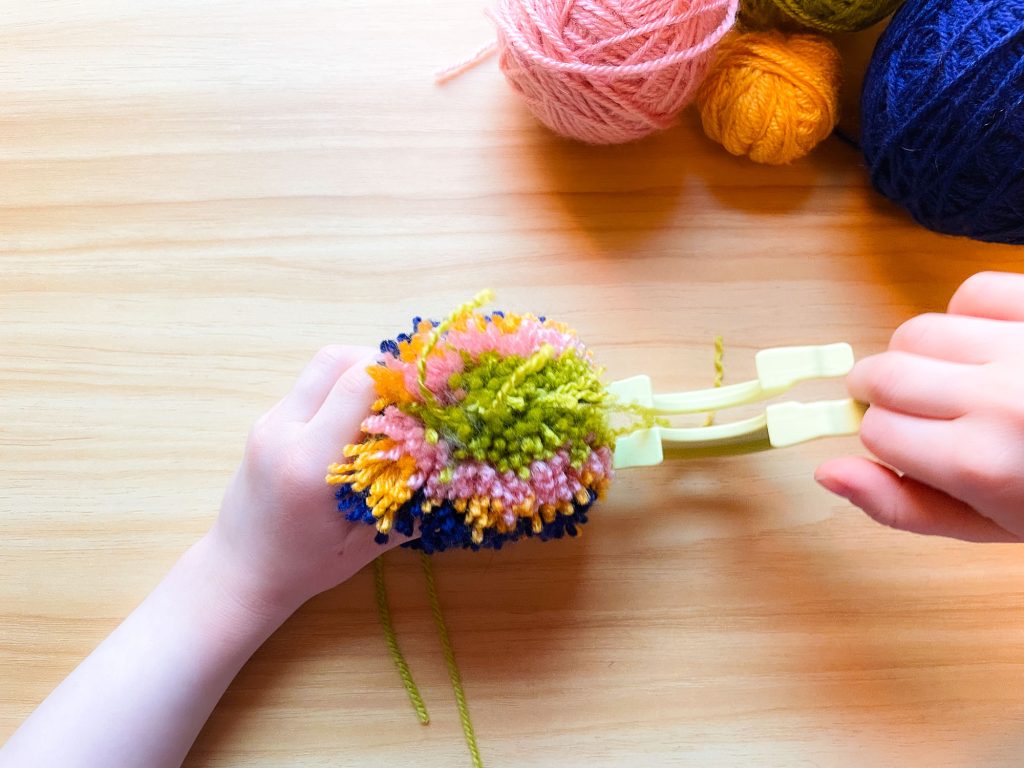
Cut all the yarn strands by inserting the scissors’ tip into the center of the pom-pom making tool. Cut the threads from the first half, then from the second half. When all the threads are cut, make sure to keep the tool tightly closed to prevent everything from falling apart!
Step 4: Attach the pom-pom
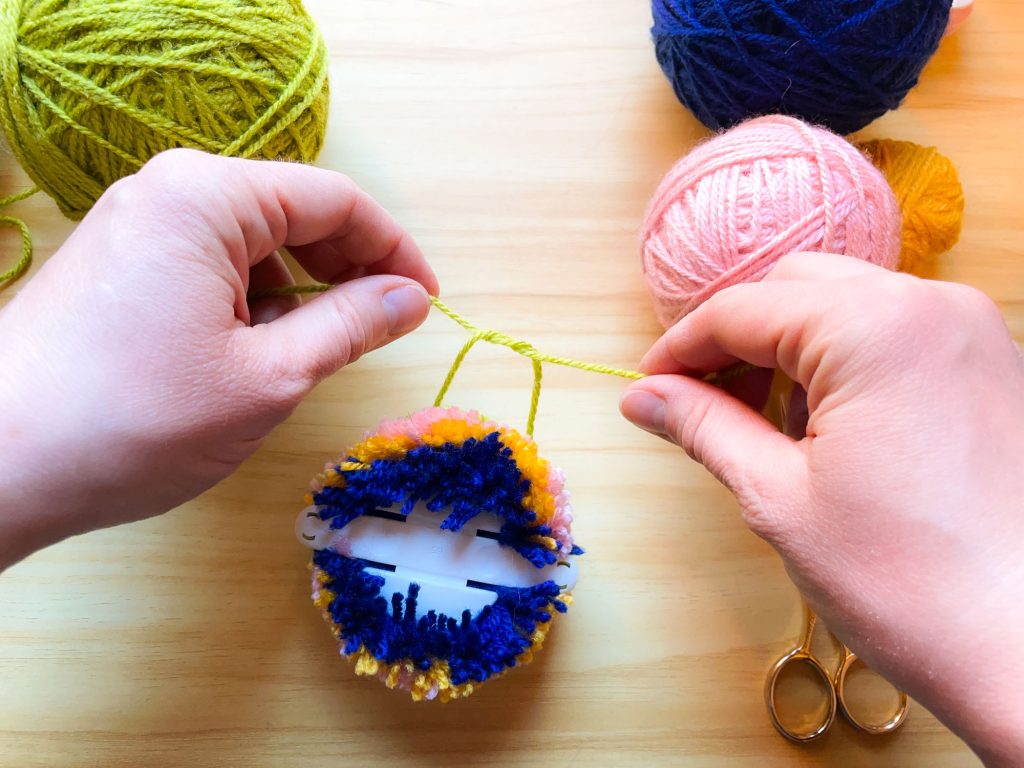
Attach the pom-pom threads by wrapping a strand of yarn around the tool. Wrap it twice, make two knots, and repeat. Tighten the yarn very firmly.
Step 5: Release the pom-pom!
Open both sides of the tool and release your pom-pom! If you’re with children (or adults with a child’s heart), you should hear some exclamations of joy!
Step 5: Trim the pom-pom
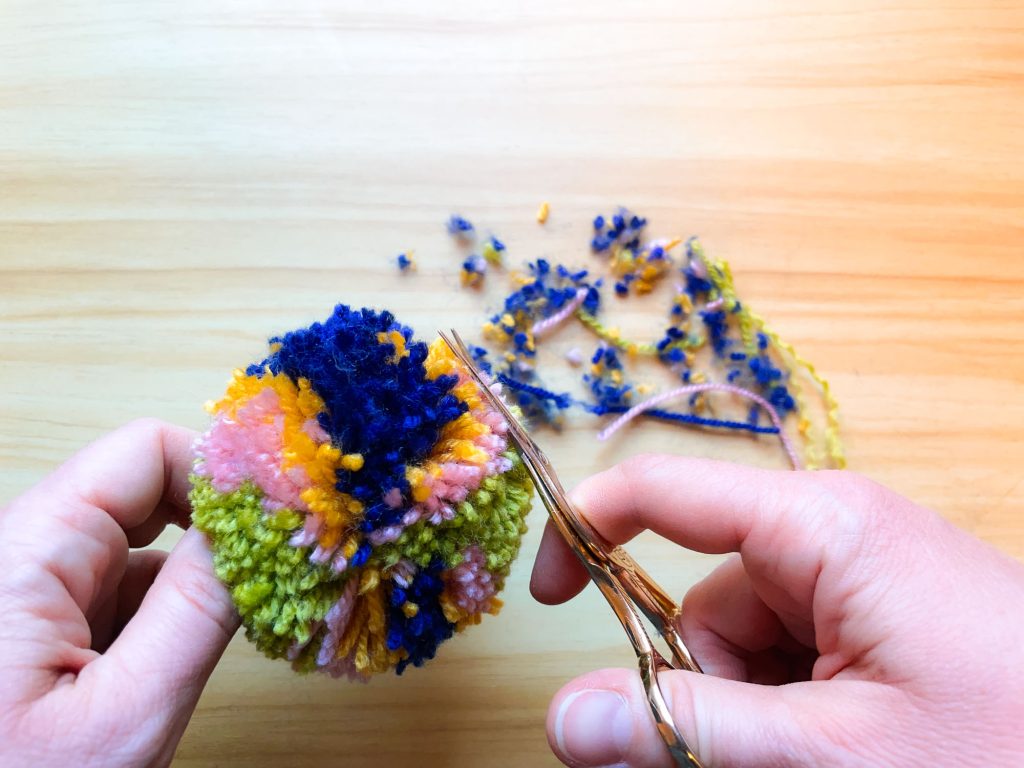
It’s haircut time! Trim all sides of the pom-pom to even it out and give it a nice look. Fine-point scissors allow for precision and give a very nice result.
And there you have it!
Our multicolored pom-poms are finished, and my boy is thrilled! He really enjoyed learning to make multicolored pom-poms, and we hope you’ll also have fun with this tutorial!
