Fall is a magical season that inspires the urge to knit, whether you’re a beginner or have been knitting for years. With the holidays approaching, many of us are searching for quick, simple projects that make thoughtful gifts. This ribbed scarf is an easy, adaptable pattern that can be customized to any length and worked with your favorite yarns, making it an ideal stashbuster. It’s a project that will delight both the knitter and the lucky recipient alike.
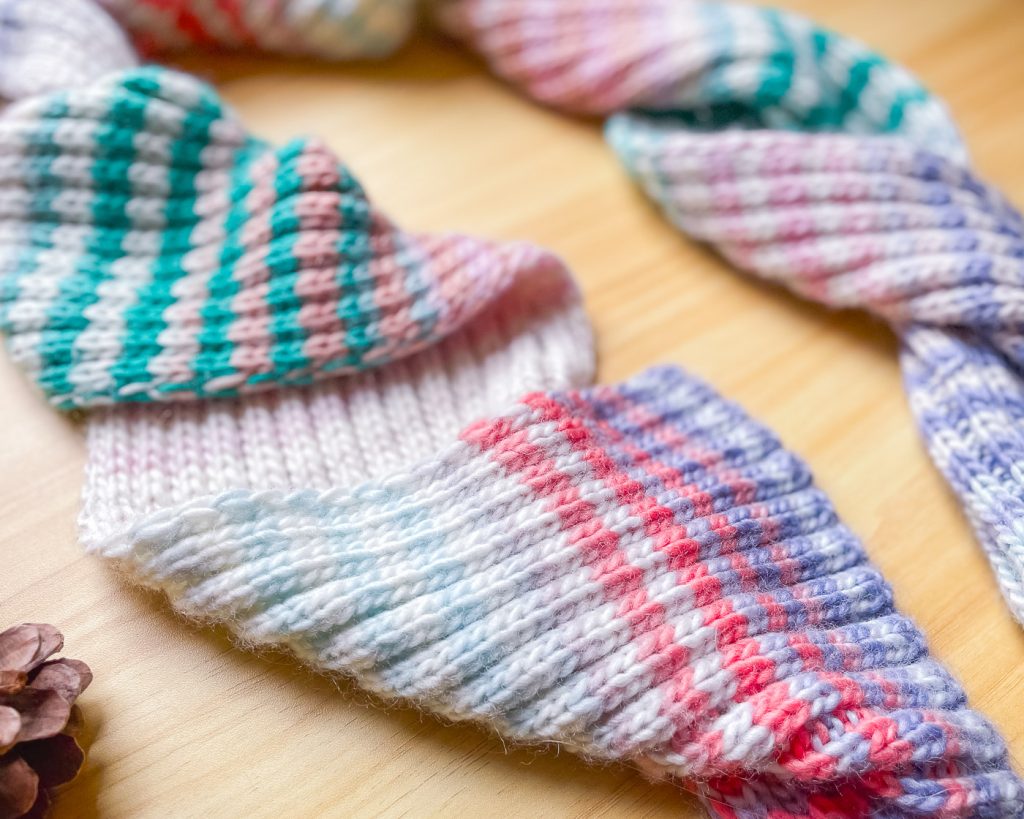
For my sample, I used two skeins of Knit Picks Chroma Worsted (read my review), a magical, long self-striping yarn in the colorways Sea Anemone and Sand & Sea. By striping just these two colorways, I created a ribbed scarf with a beautiful, complex stripe pattern—all without any extra effort. It was amazing to watch the stripes emerge as I knit, making it one of those projects you just can’t put down. That’s one reason it ended up being such a quick knit! Another reason is the simplicity of the k2, p2 ribbing, as every row is worked the same way. Plus, this stitch pattern is perfectly reversible, so the scarf looks great on both sides—no need to worry about how it’s worn.

Only two colors of Knit Picks Chroma Worsted are required to create all these beautiful stripes!
How to Knit an Easy Reversible Ribbed Scarf?
You will need:
- Two skeins of worsted weight yarn in two different colors, or desired weight of yarn and desired number of colors. The sample was made using Knit Picks Chroma Worsted, colorways Sea Anemone and Sand & Sea, for a total of approx. 400 yards (365 meters) of yarn.
- Size US 8 (5 mm) knitting needles. Adjust needle size according to your yarn. You can refer to the suggested needle size on the label of your yarn.
- Tapestry Needle
Abbreviations:
BO = Bind Off
C1 = Color 1
C2 = Color 2
CO = Cast On
RS = Right side
St(s) = Stitch(es)
WS = Wrong side
Easy Reversible Ribbed Scarf: Instructions
With C1, CO 44 sts.
Setup row (WS): with C1, (k2, p2) over all sts.
Stitch pattern: 2×2 ribbing
Row 1 (RS): with C2, (k2, p2) over all sts.
Row 2 (WS): with C2, (k2, p2) over all sts.
Row 3 (RS): with C1, (k2, p2) over all sts.
Row 4 (WS): with C1, (k2, p2) over all sts.
Work in 2×2 ribbing until scarf measures 60 inches (152 cm), or until yarn is almost all worked up, ending Row 4.
Cut C1.
Final Row (RS): with C2, (k2, p2) over all sts.
Finishing
With C2, BO all sts in pattern.
Weave in all ends.
Wash the scarf and lay flat to dry.

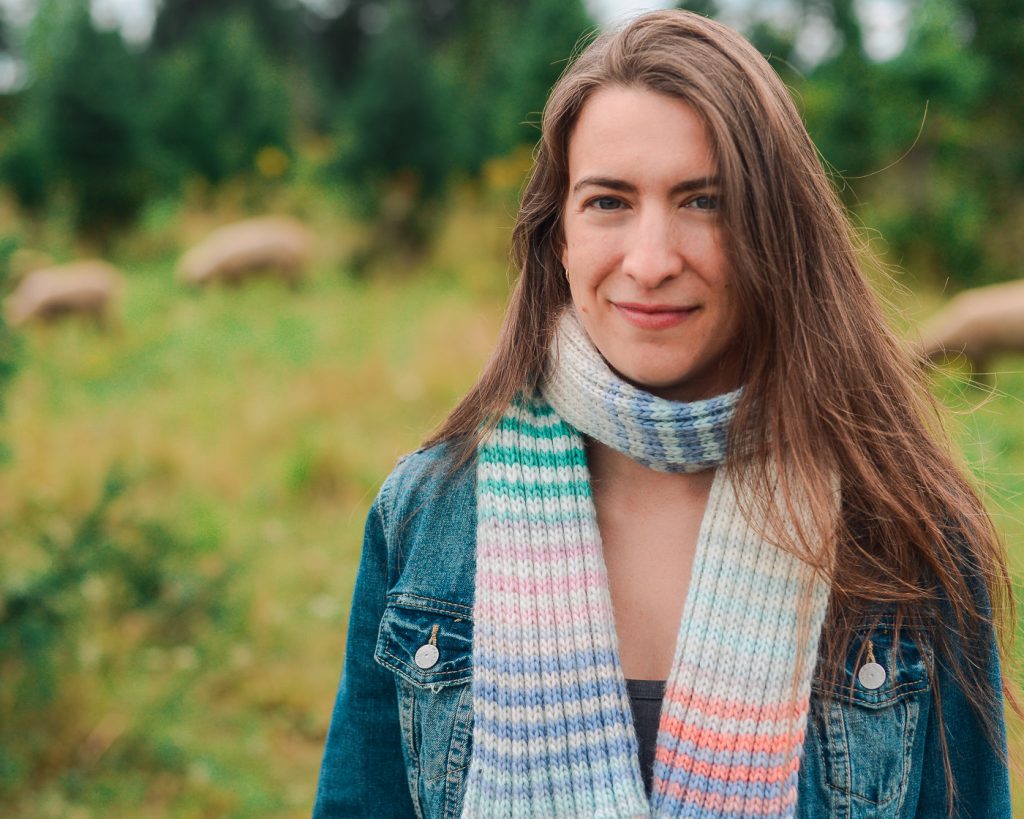
I love how my scarf fits, it’s so squishy and colorful! (And yes, those are sheep in the background!)
Modification Ideas
Here are a few ideas to customize this pattern and make it your own:
- Adjust the Stitch Count: You can cast on a different number of stitches to achieve your desired size. As a rule of thumb, an adult-sized scarf is typically 6-8 inches wide (15-20 cm), while a children’s scarf is about 5-6 inches (12-15 cm). The pattern, as written with 44 stitches in worsted weight yarn, will yield a width of approximately 7 inches (18 cm) and a length of 60 inches (152 cm).
- Experiment with Yarn Weight: You can use any yarn weight from fingering to bulky, but be sure to adjust the number of stitches to achieve the right size for your chosen yarn. Generally, a lighter weight will require more stitches than indicated, while a heavier weight will require fewer. Don’t forget to ensure you have enough yardage for your project!
- Incorporate More Colors: Get creative with your striping pattern by using multiple yarn colors. You can create a beautiful stashbuster project by incorporating as many colors as you like. I recommend working two rows of one color before changing to maintain a consistent stripe pattern—this way, you’ll work one right-side row and one wrong-side row for each stripe.
- Opt for a Classic Look: If you prefer a timeless style, consider using a single color to create a classic ribbed scarf.
In conclusion
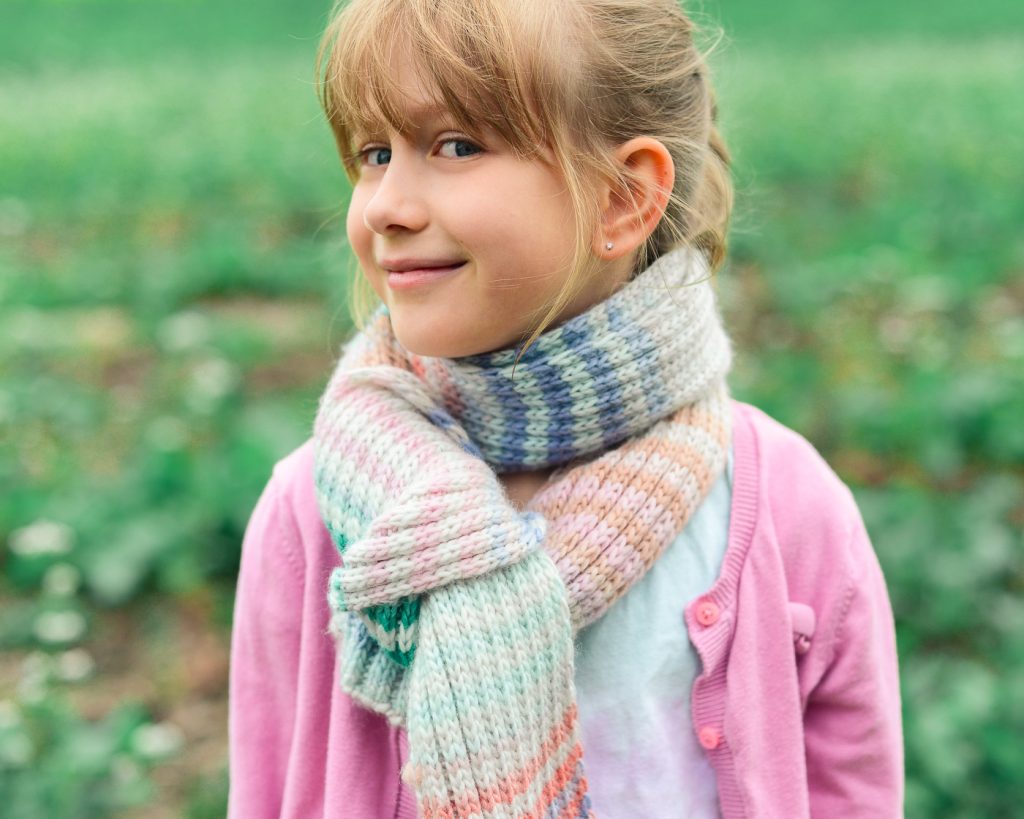
I hope this easy ribbed scarf becomes a favorite project for you this fall. Whether you’re knitting it as a gift or for yourself, its simple design and versatility make it a perfect go-to. There’s truly nothing like a handmade scarf to keep warm or to share with someone special. Speaking of my scarf, while I originally made it for myself, a little someone special claimed it before I even finished knitting! And it fits her so well that I couldn’t bring myself to take it back!
Happy knitting!
PS: if you knit this pattern, I’d love to see your projects! You’ll find the pattern on Ravelry where you can link your projects, or you can tag me on Instagram: @gabrielleknits. See you there!

This scarf pattern is a perfect gift for children and adults!
This article contains affiliate links, and I may earn a small commission if you click on the links in this page. I meticulously curate all the products I showcase, and the opinions I share are genuine and honest. If you find the links interesting, please consider clicking on them as it helps support the funding of this website and its free content! To discover more about affiliate links and the terms of use of this site, please click here.


