Since my childhood, making yarn pom-poms has always been one of my favorite pastimes. I must admit that even today, I frequently find myself taking out my pom-pom making tools and crafting one with leftover yarn, sneakily, during my work time. For children, it’s an easy way to create a cute and cheerful little object, and for adults, this technique allows us to create a pom-pom to use as we please, whether it will become a pom-pom for a hat or become a part of a beautiful pom-pom garland, or any creative projects that we can think about.
A few years ago, I acquired the Clover pom-pom making tool set (available in Canada or in the USA), which allows you to create pom-poms in four different sizes. I love using these tools: they are making beautiful pom-pom while enabling an easy DIY pom-pom making process. I recently taught my children how to make pom-poms with these tools, and my daughter and I took the opportunity to create this tutorial to teach you too.
How to make a pom-pom using a pom-pom maker tool?
 You will need:
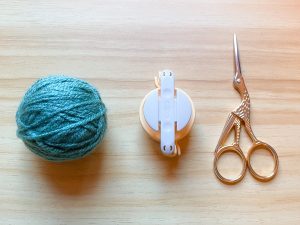
– A ball of yarn (a leftover yarn is sufficient).
– A pom-pom maker tool (you can find them on amazon.ca and amazon.com). I highly recommend those from the Clover brand.
– A pair of sharp scissors (also available on amazon.ca and amazon.com).
 Step 1:
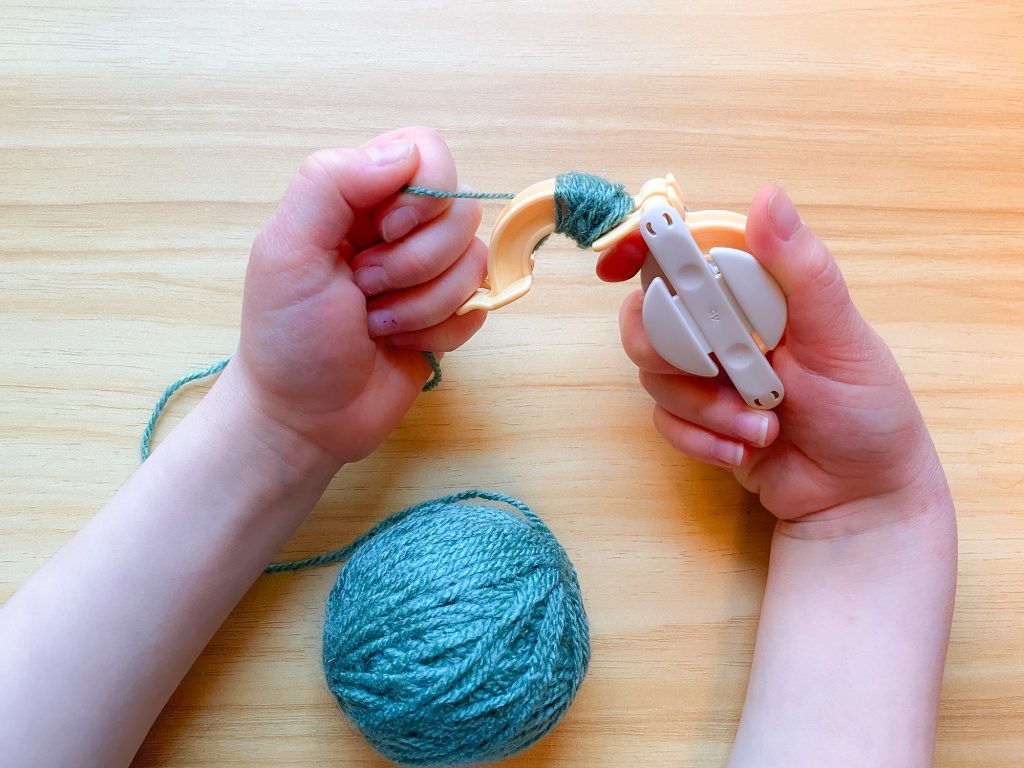
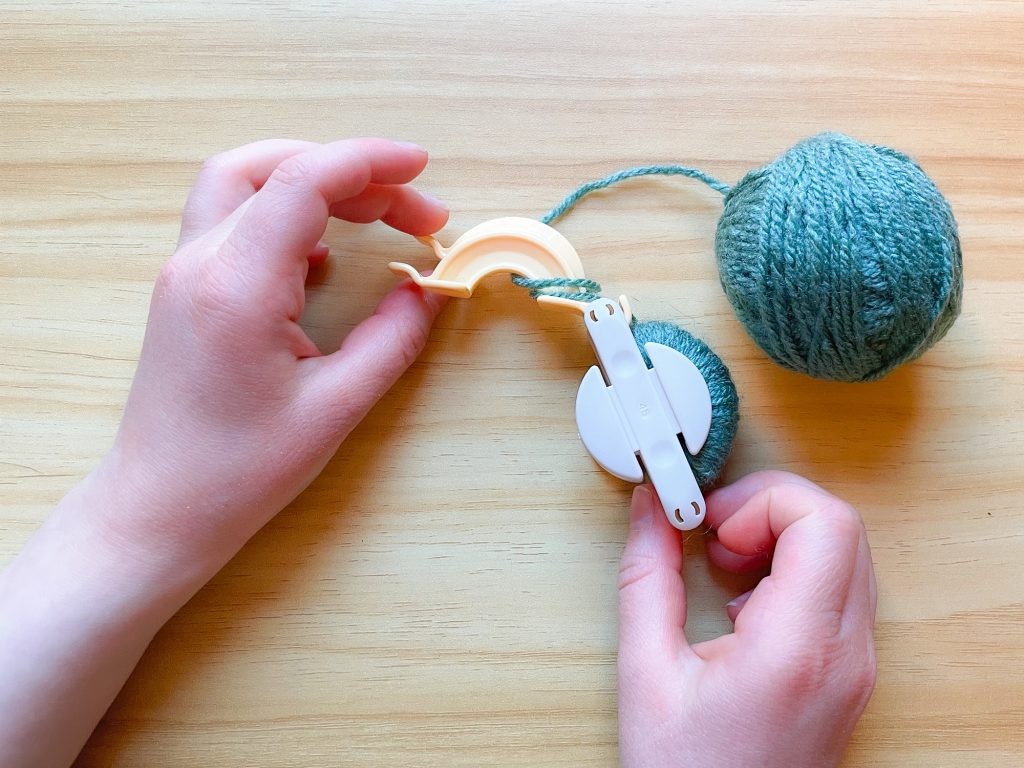
Open one side of the pom-pom maker tool. Both parts on the same side must be open. Wrap the yarn around both parts.
Wrap the yarn until the first side of the tool is completely covered. The more yarn you put, the fuller the pompom will be.
 Step 2:
Close the first side of the tool, then open both parts of the second side. Wrap the yarn around the second side, making sure to put a similar amount of yarn as on the first side.
 Step 3:
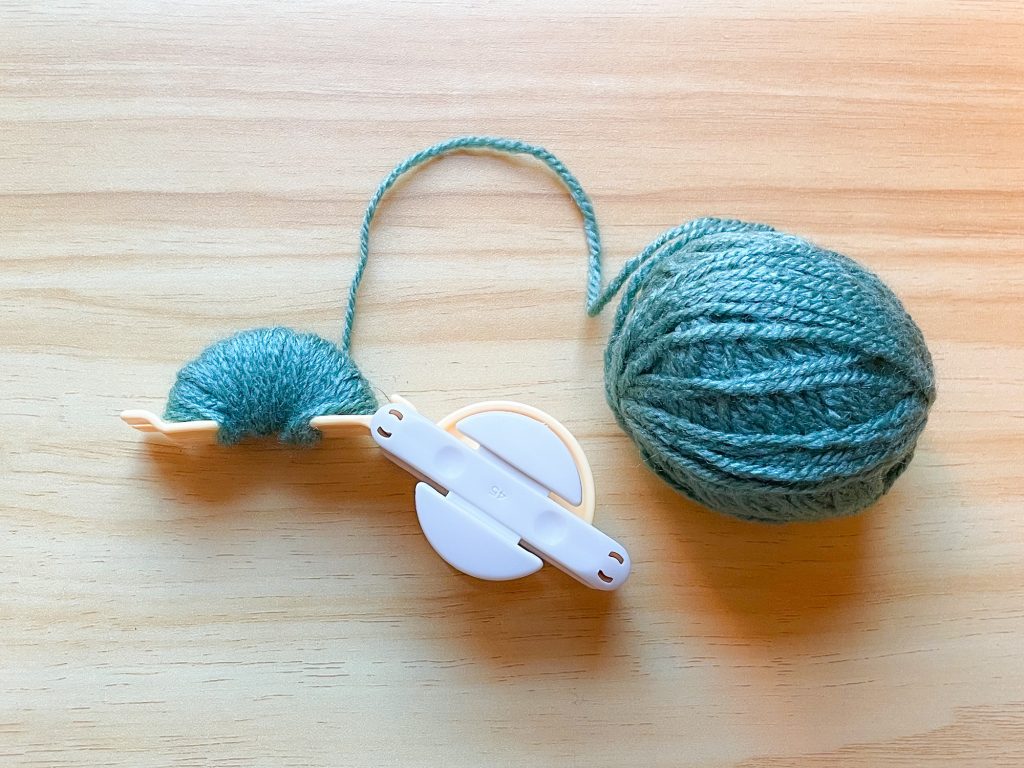
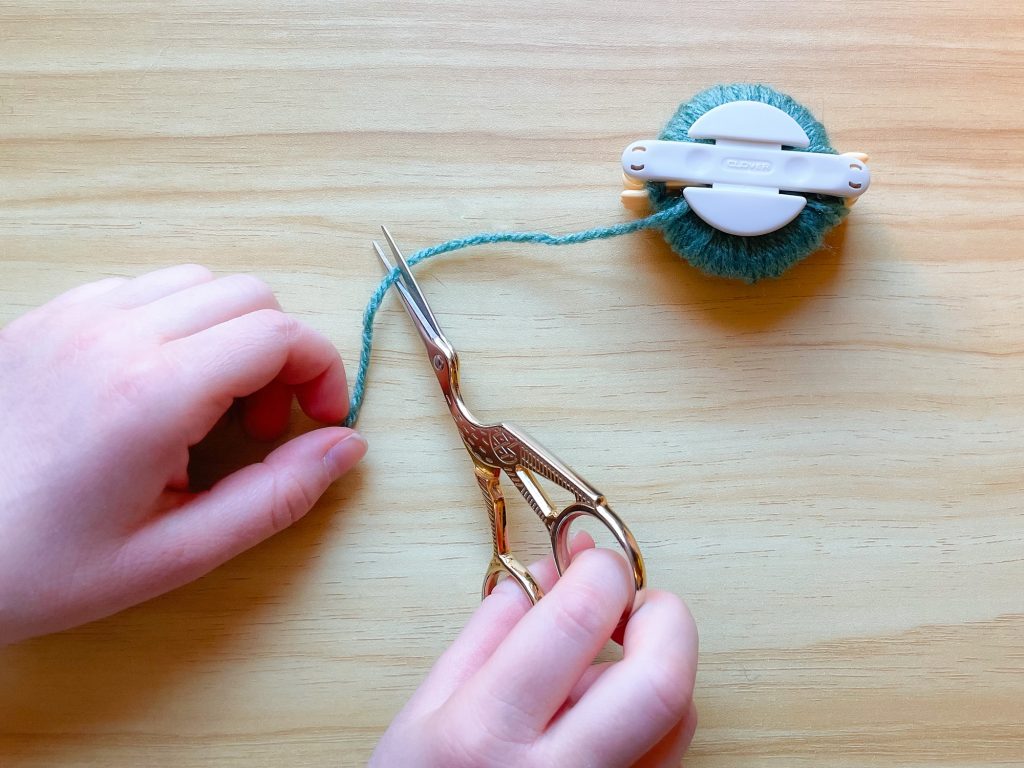
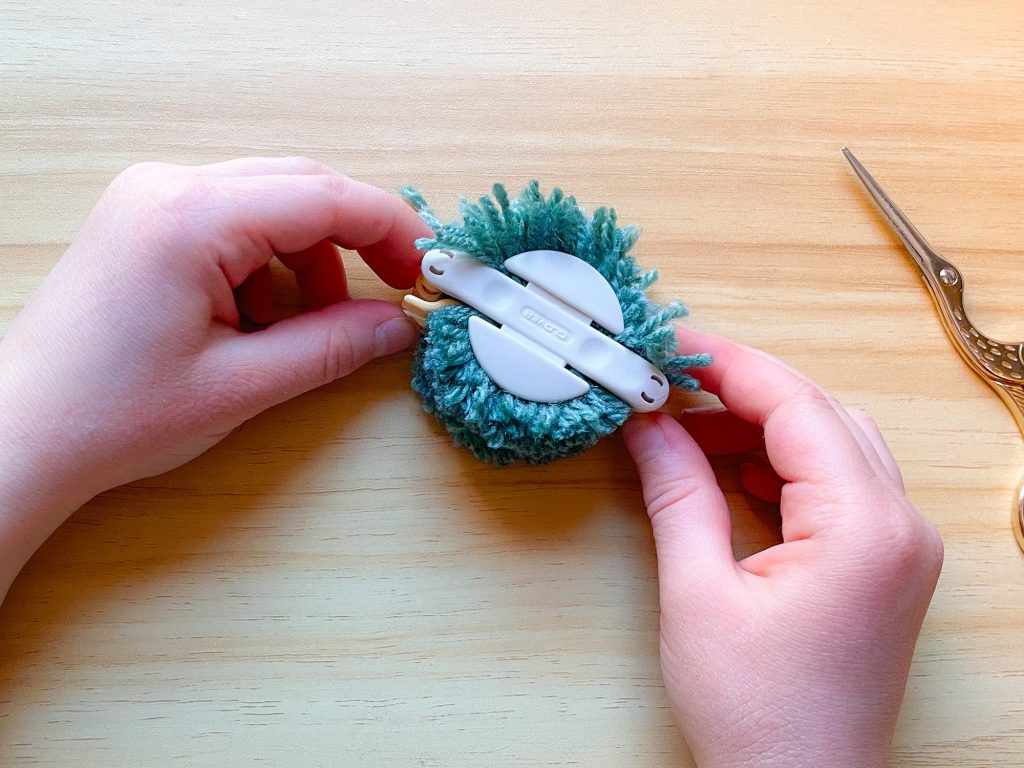
Close both sides of the tool and cut the yarn.
 Step 4:
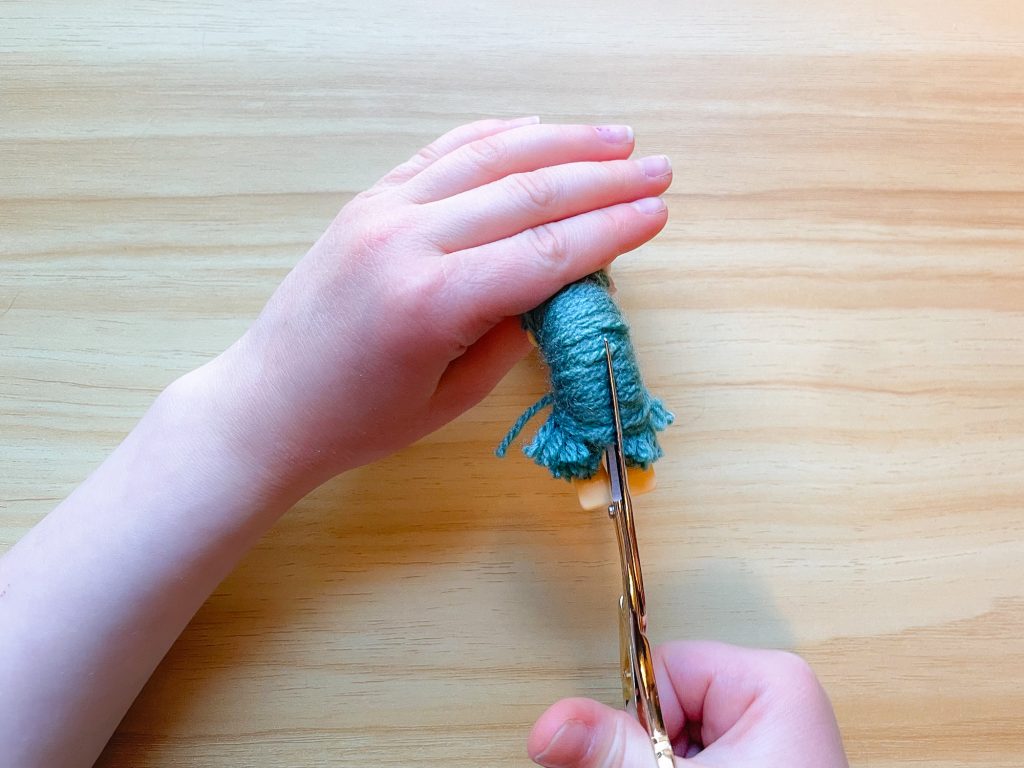
Keeping the tool tightly closed, insert the scissor tip between the two parts of the first side. Cut all the threads, making sure to cut right in the center.
 Step 5:
Repeat this operation on the second side.
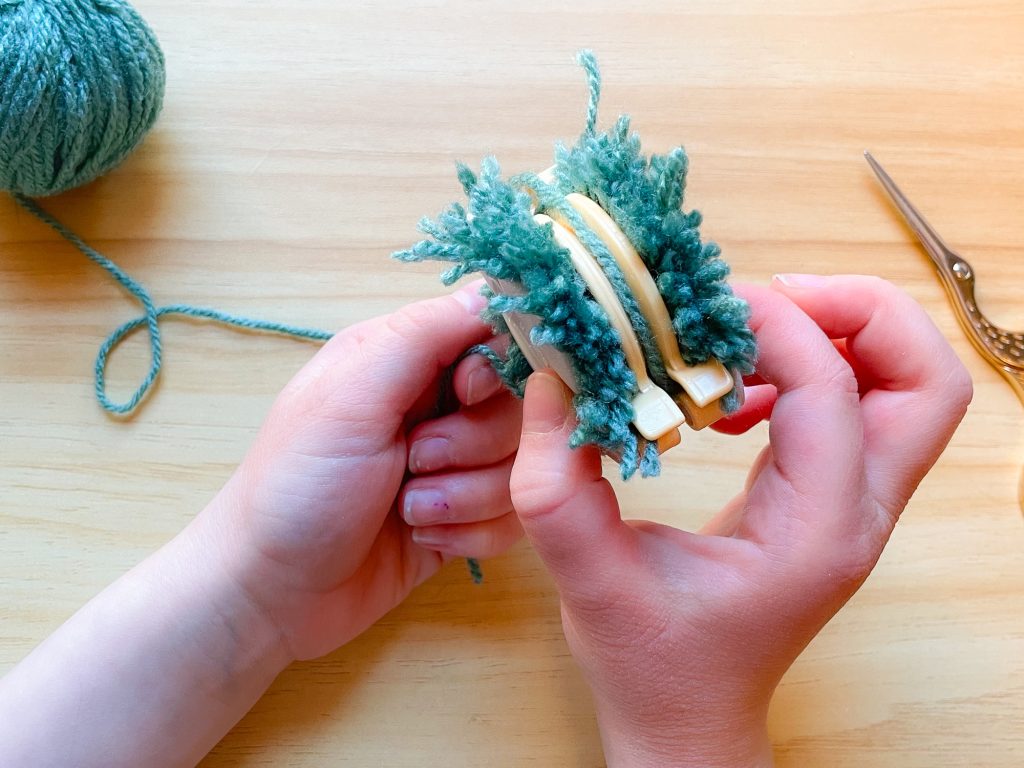
 All the threads are cut! It is important to keep the tool tightly closed, otherwise, they will fall out.
 Step 6:
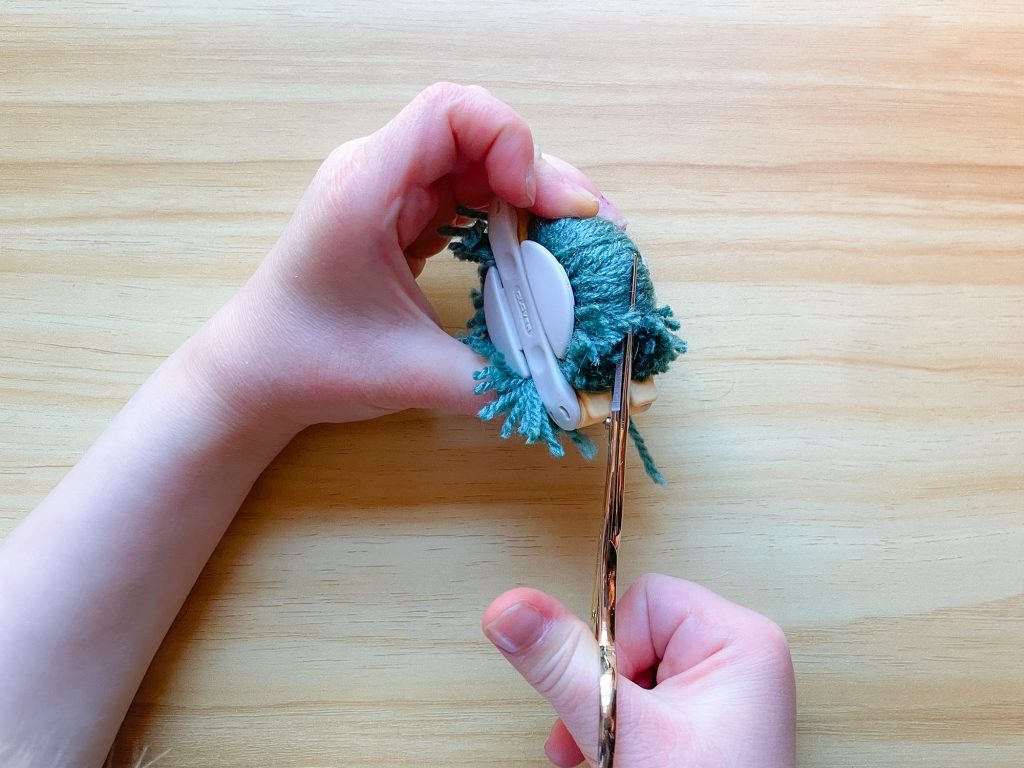
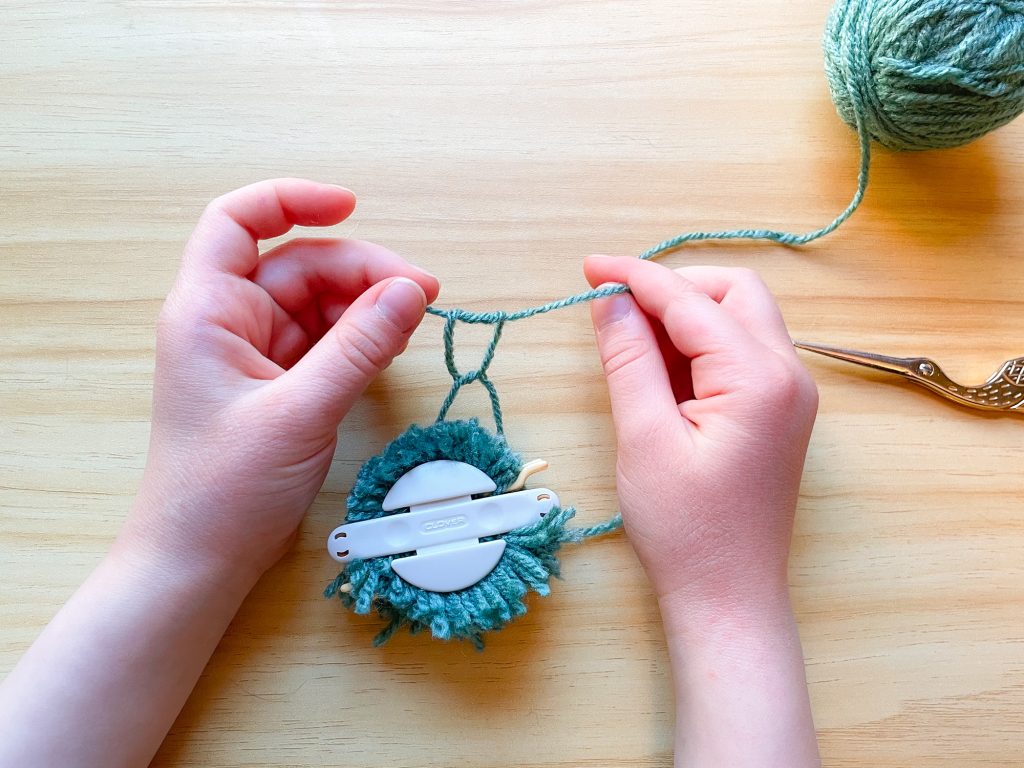
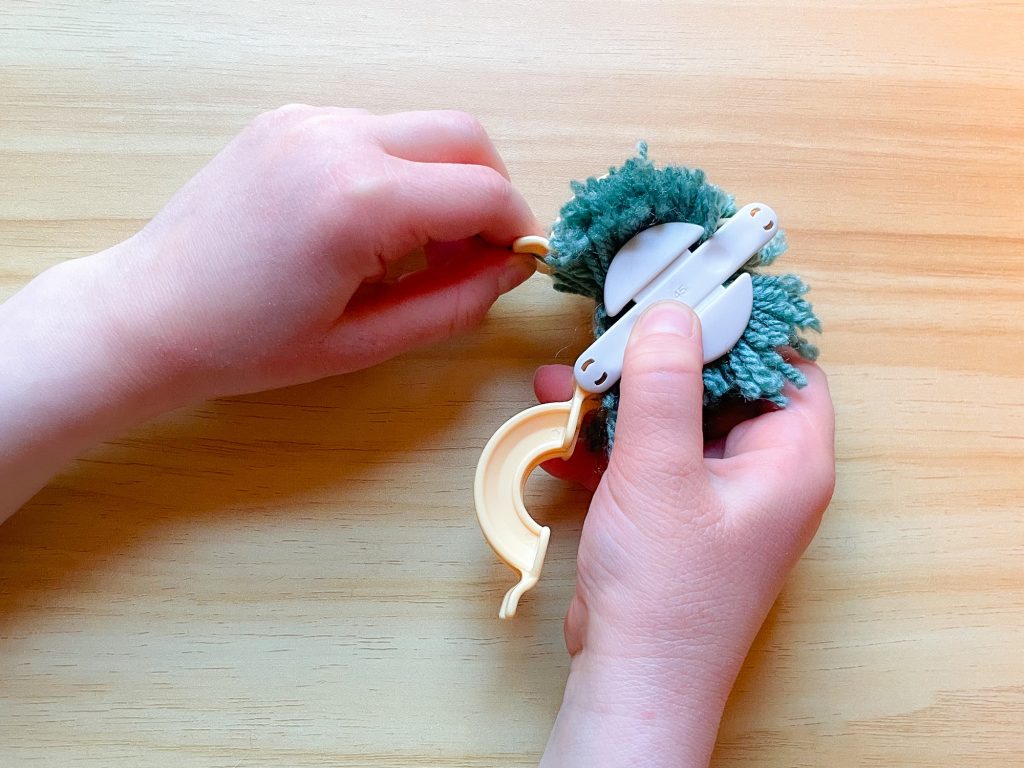
Wrap the yarn around the center of the pompom, slipping it between the two parts of both sides of the tool. Wrap the yarn twice and tighten firmly.
 Step 7:
Make two knots and tighten the threads as tightly as possible!
 Step 8:
Now, the moment of truth!
Open both sides of the tool to release the pompom.
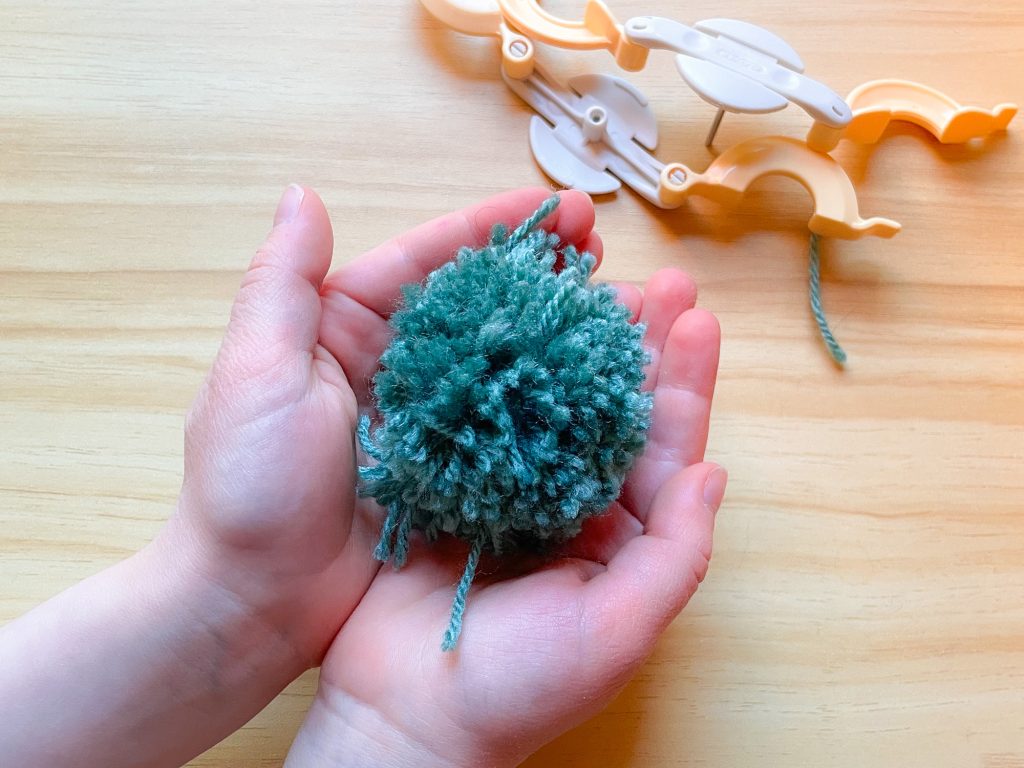 Here’s a slightly disheveled pompom…
The little one is asking: “Are we going to cut the sticking-out threads?”
 Step 9:
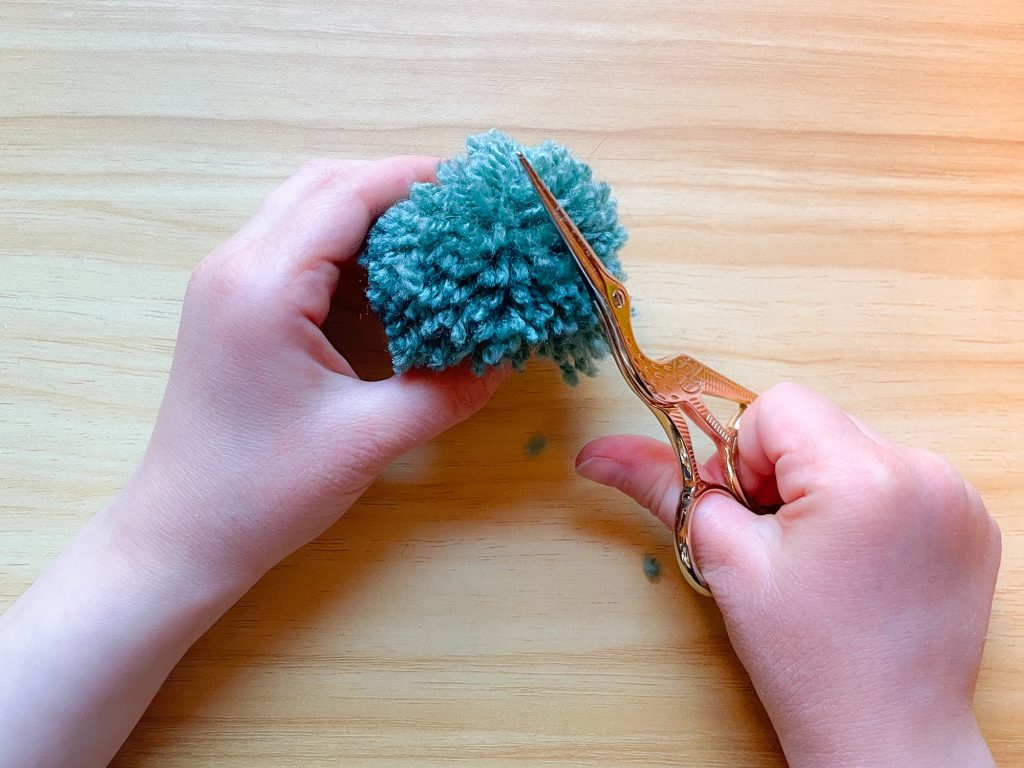
Cut the sticking-out threads 😉
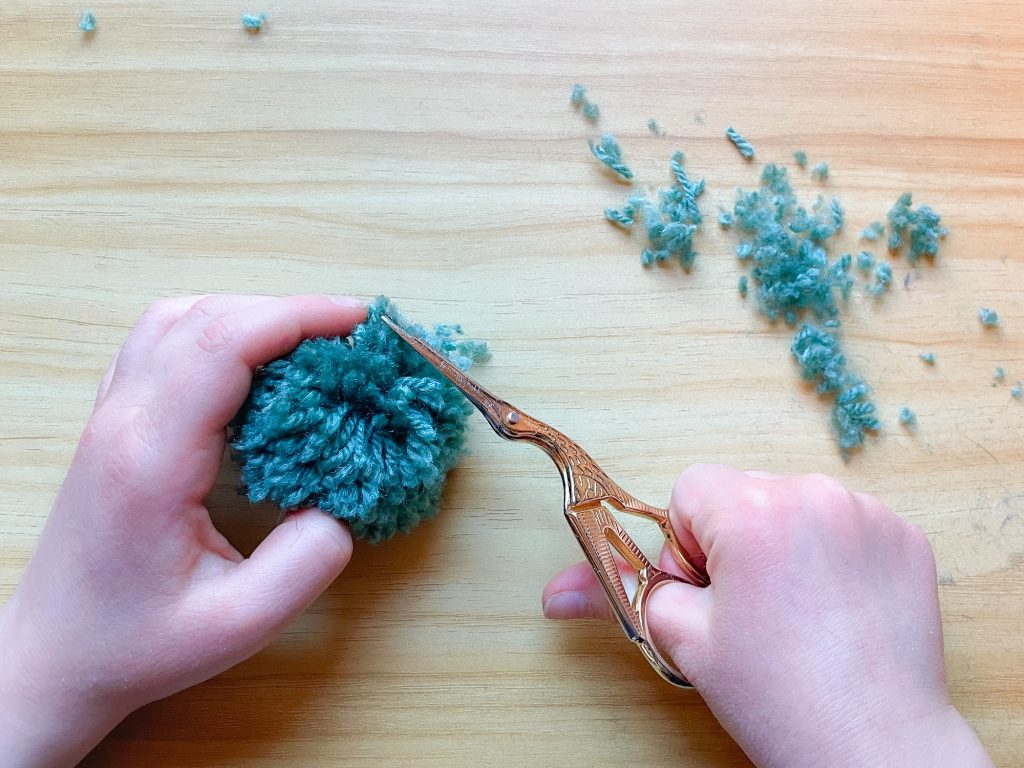 Cut the threads with the scissor tip, removing a tiny bit of yarn at a time. Turn the pompom in your hands, check that it looks good from all angles. You can spend just a few minutes on this step, or a lot of time if you’re a perfectionist! The advantage of wrapping a lot of yarn on the pom-pom maker tool is that you can have fun trimming a good amount of yarn to create a perfect pompom.
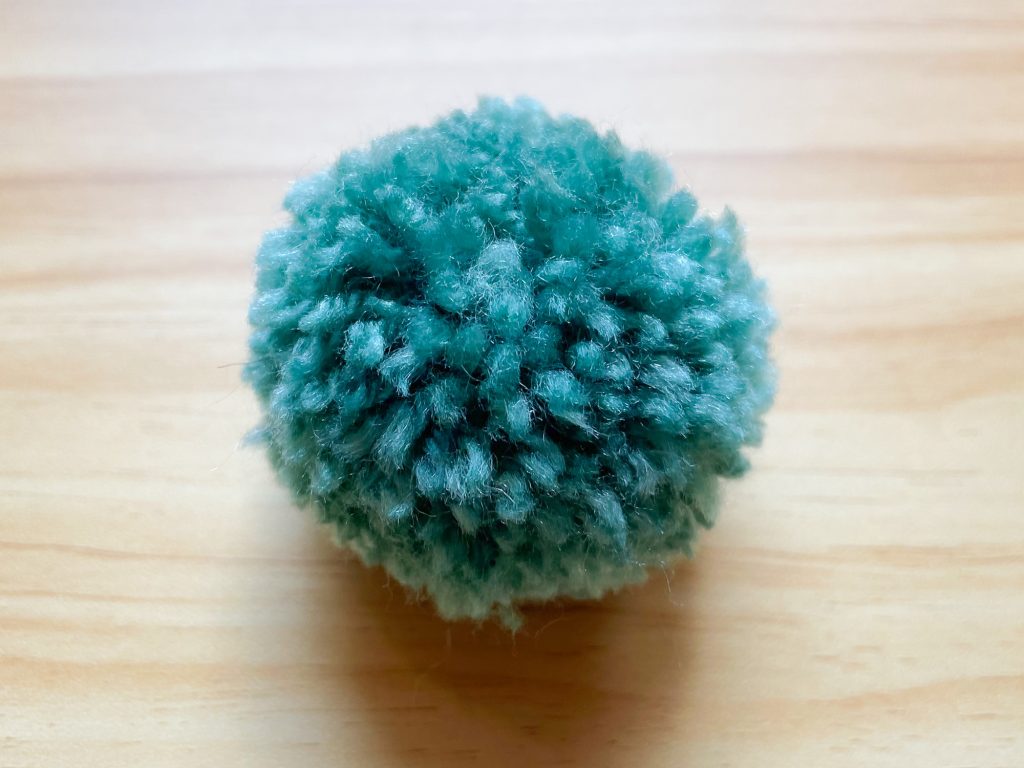 And here is the result!
This is how my daughter learned how to make a yarn pom-pom, and we hope you found our pom-pom making tutorial informative!